1663832908583941.png)
How to integrate the Hello-Chat Widget?
Here are the steps to create and integrate a Chat Widget :
1. Go to your MSG91 panel and click on"Hello".

2. Select the Manage option from the sidebar and select the Inboxes section under it.
How to Create Chat-widget
First thing is to Create Inbox , Click upon Create Inbox .

Select Integrate Chat Widget As Inbox.

Filling in the required details in the Chat widget , after filling all the details Click upon save and Save the Widget.

Click upon Integration and Copy the Code which is going to be added in Header or Footer of the Website

Afterwards give some changes in Code according to use-case of Widget
For example. If you only want to hide the Launcher then Type True instead of <True/False> And rest all Four would be False
{ widgetToken: "XXXX",
hide_launcher: true, // override default widget hide launcher settings
show_widget_form: false, // override default widget show client form settings
show_close_button: false, // override default show close button widget settings
launch_widget: false, // override default launch widget settings
show_send_button: false, // override default show send button widget settings
unique_id: <unique_id>, // any unique id, could be username, email etc.
name: <name>, // optional, if not passed in code, a form will be displayed
number: <number>, // optional, if not passed in code, a form will be displayed
mail: <mail>, // optional, if not passed in code, a form will be displayed
country: <country>,
city: <city>,
region: <region>
};
;
</script>
<script type="text/javascript" onload="initChatWidget(helloConfig, 5000)" src=https://control.msg91.com/app/assets/widget/chat-widget.js;> </script> // If you want to load widget with a delay, can pass 2nd param for delay in milliseconds"
Note- Paste the Code on your Web-page's Header Or Footer as per requirement.
After that Chat-Widget will get integrated to Your website and after these following steps, Bot can get linked to that Widget
Select the Desired inbox and Click up-on 3 dots and select Bot Settings

Select the Bot In the Drop down Window
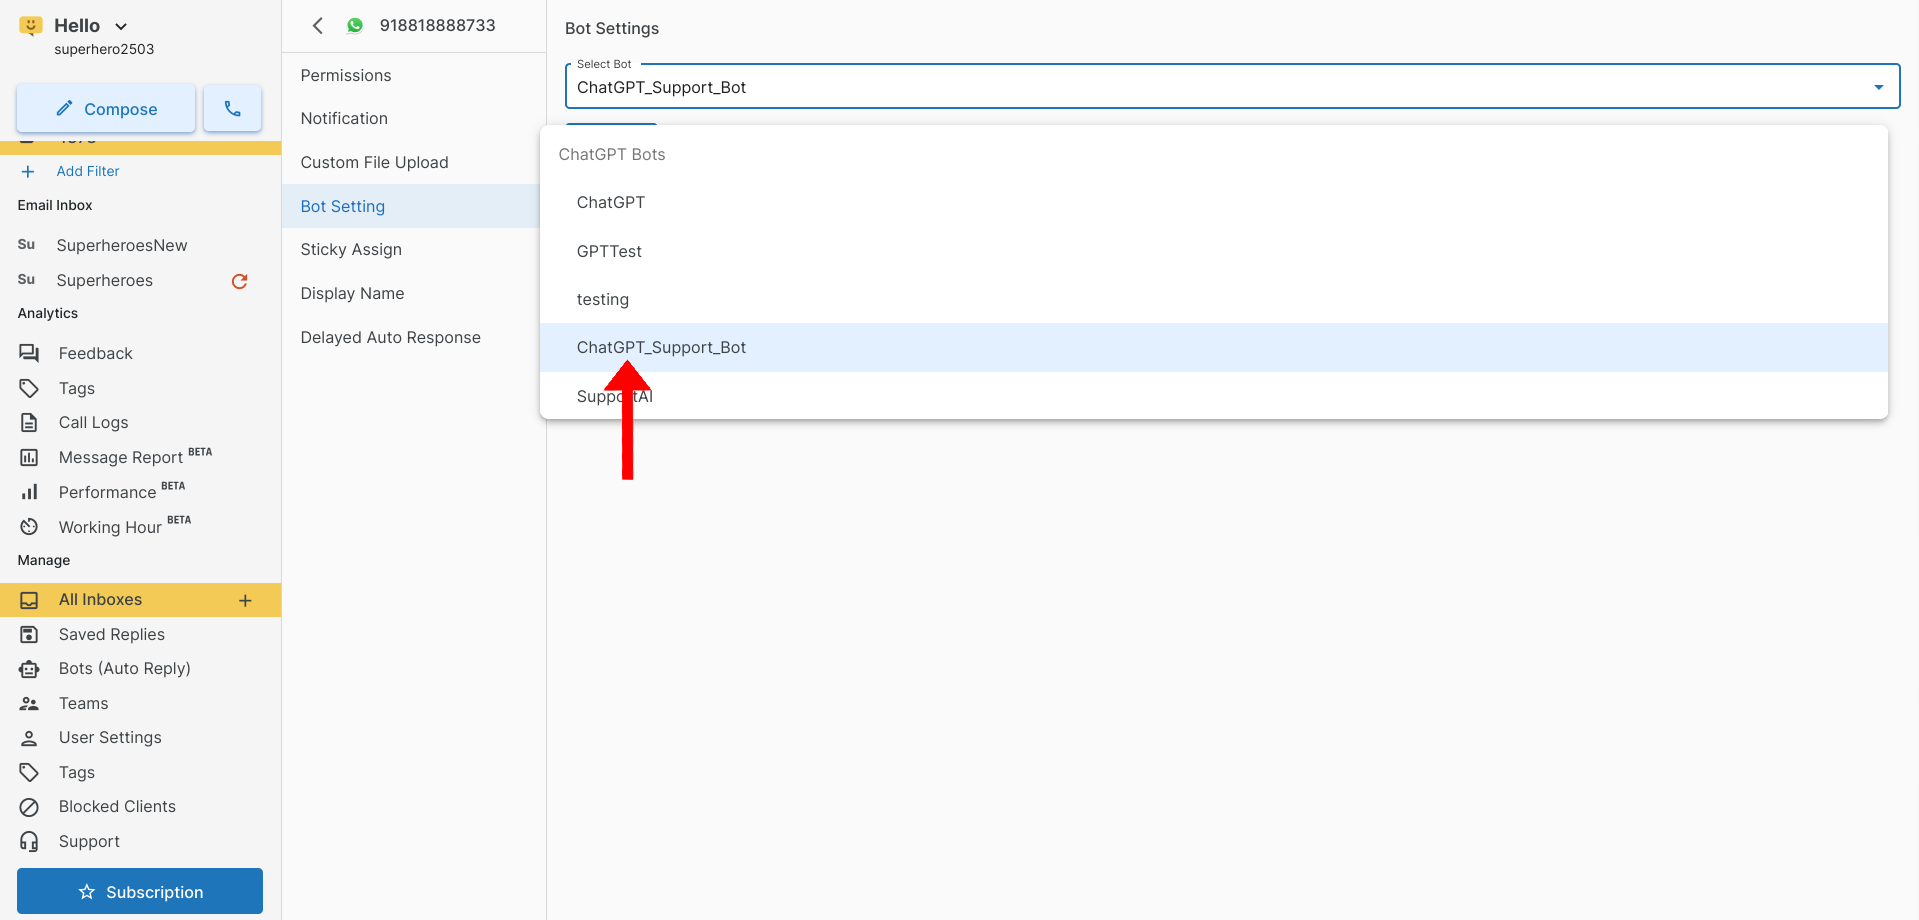
Select the Bot and Click upon Update

Bot has been Integrated to Widget successfully .