How to send WhatsApp using Google Spreadsheet Plugin

You can send WhatsApp directly from your Google spreadsheet by using this add-on without switching back and forth to the panel. This add-on is introduced to save you time and help you to send WhatsApp SMS efficiently to all your contacts directly from the sheet.

Follow the below-mentioned steps to send WhatsApp directly by using the sheet:

Install the SMS Sheet add-on from MSG91 in Google Spreadsheet.


Step 1: Click on Extension, hover to the Add-ons section, and click on Add-ons section, and click on Get add-ons.


Inside Google Spreadsheets

Step 2: Search SMS Sheet or MSG91, and click on it.


MSG91 Plugin for Google Spreadsheet


Step 3: Install the add-on.


For Sending WhatsApp:


Step 4: Click on Extension and hover over MSG91 and select WhatsApp.


Google Spreadsheets

Step 5: Log in with MSG91 using Authkey and Email Id or Mobile. You can get Authkey by login to OneAPI Dashboard in MSG91. Enter the validity duration of 2hrs/3hrs/4hrs from the drop-down and click on Submit.


Plugin Login Dialogue Box

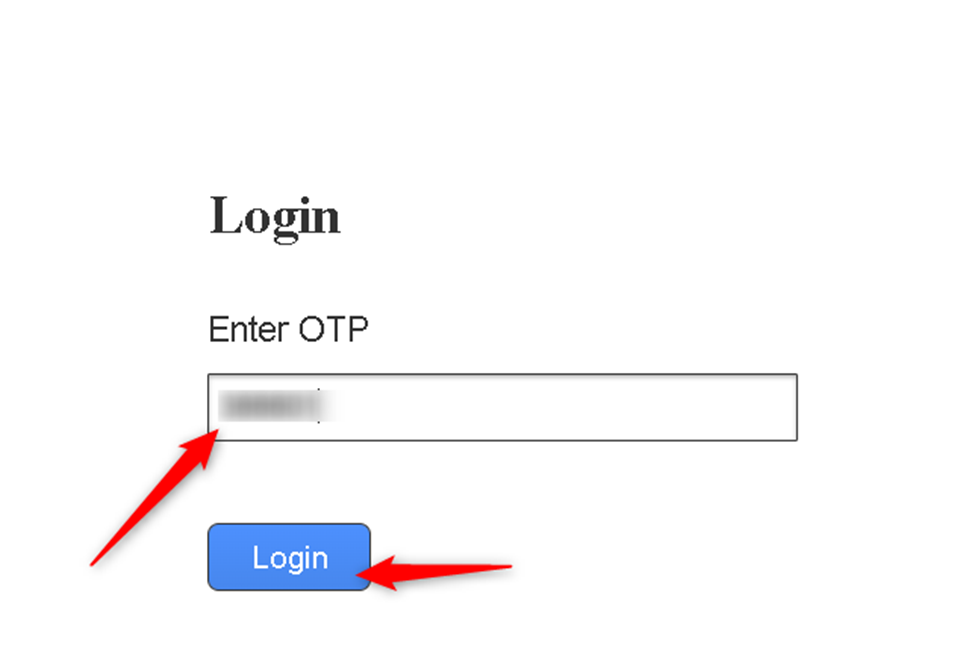
Step 6: Enter the OTP received in your email id or registered phone.


Step 7: Once you logged in successfully, you will see the options below:


Plugin Page

Step 8: Hope you are ready with your sheet, now select the column in which the mobile numbers of recipients are saved. Select whether to send all the contacts in a particular row or specific people 


Step 9: Next is Status, you need to select the Blank Column for the status, this is for the random id which will get generated as a response. 


Step 10: Select from the Whatsapp number which is active in your account. 


Step 11: Once you select the From number, a new option to choose the templates will come.


Depending on your template body, the variable, header, etc will be visible, and map them accordingly. 


Step 12: If your template has a variable, it will show the option below to choose the variable field column.


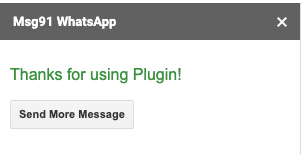
Step 13: Click Send, once you click on Send you will see a successful pop-up like below. 


Step 14: You will get the response in the selected column below: