How to Create a Campaign Flow
You can also watch the video guide for a complete Segmento setup - Campaign Tutorial
How to create a campaign flow?
Log in to the MSG91 panel.
Select Campaign.
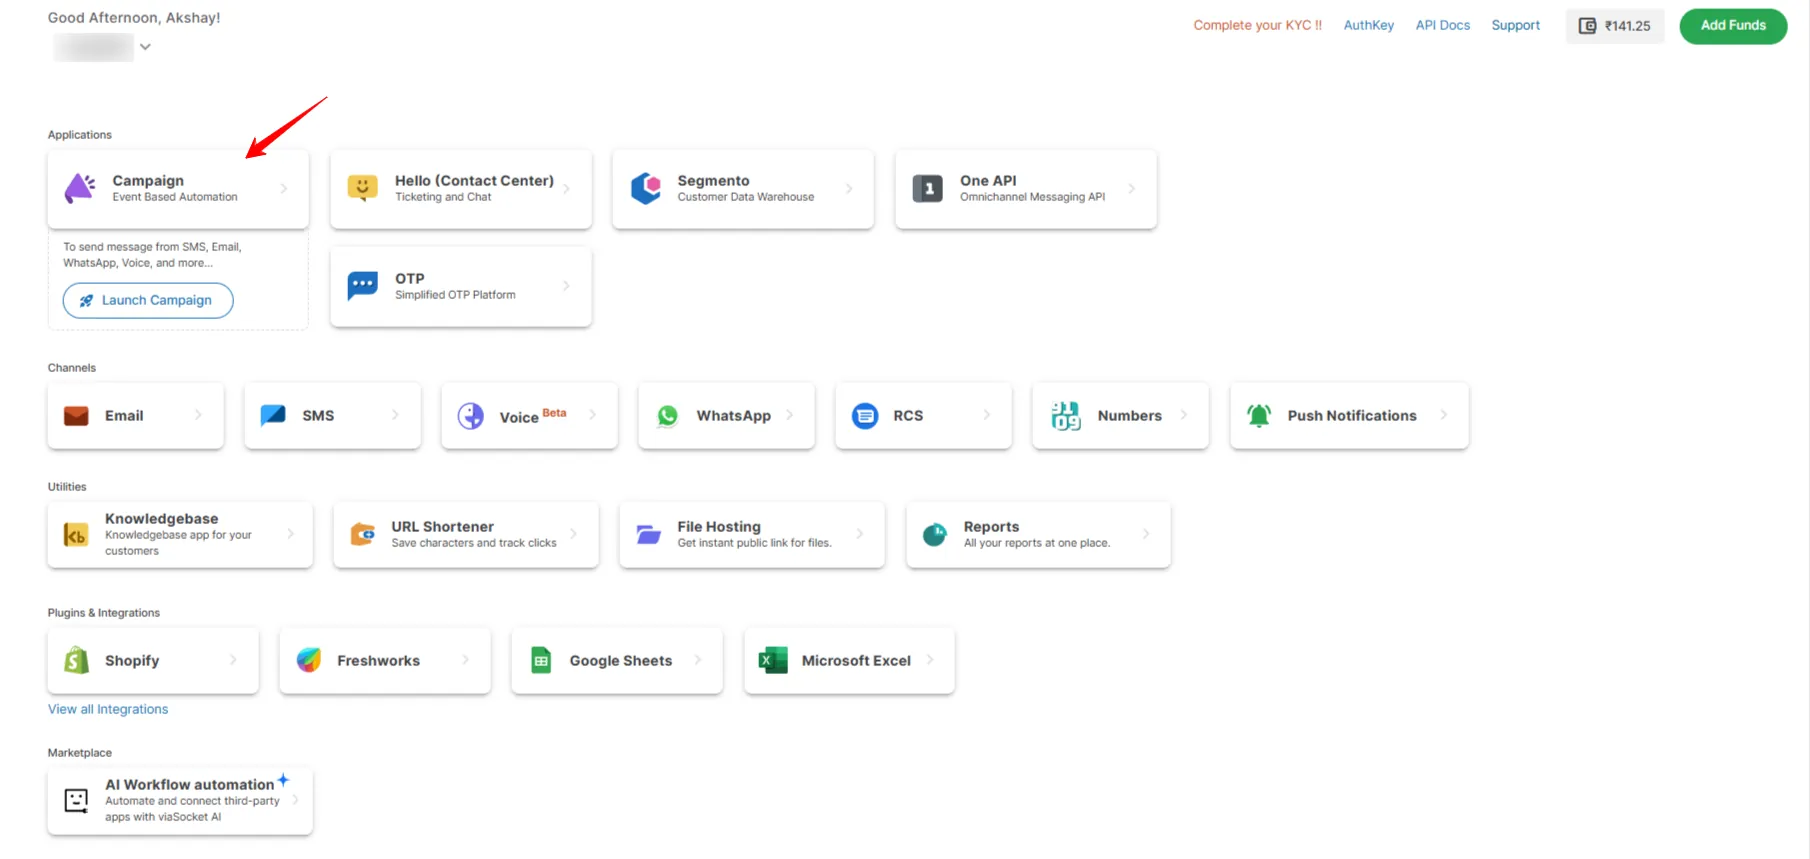
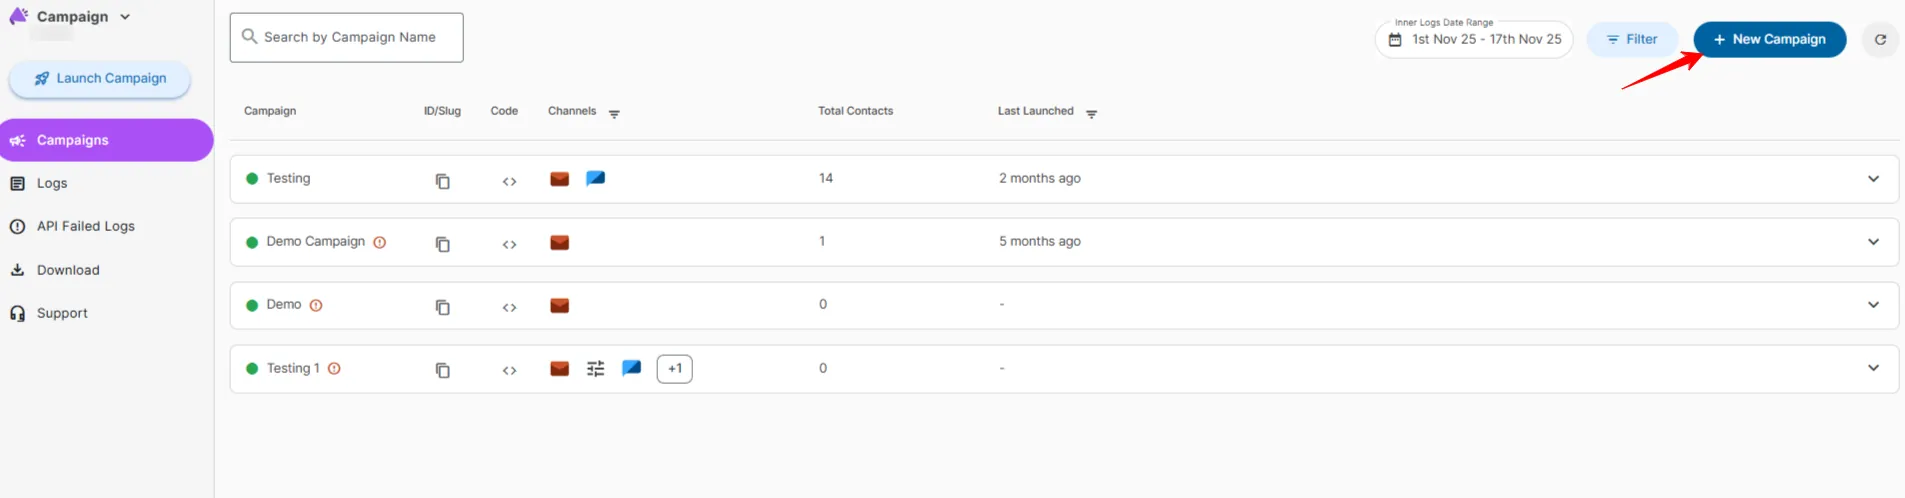
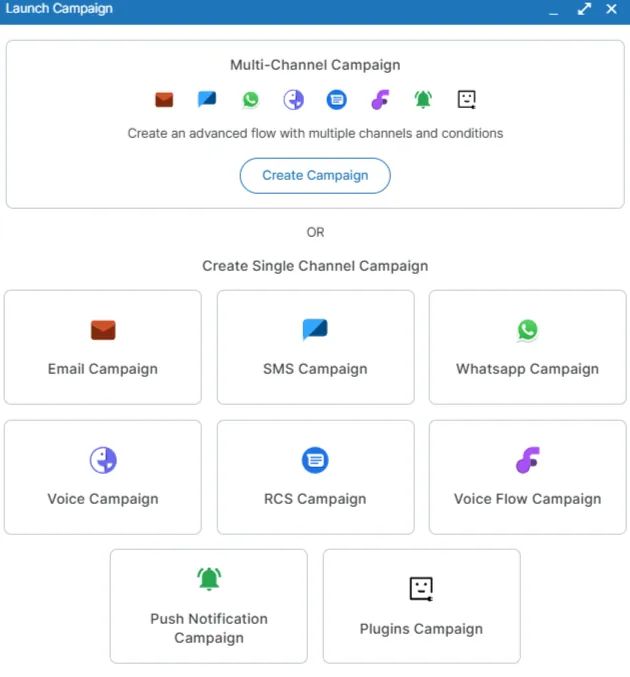
Once you select Campaign, you will be directed to the Campaign Dashboard. In the top-right corner, you will find the option to create a new campaign. Click on it, and a list of available channels will appear. Choose the campaign type:
Single Channel: Launch a campaign on a single channel.
Multi-Channel: Use multiple channels such as SMS, email, RCS, push notifications, and more to design customized workflows based on your requirements.
After selecting the campaign type, give your campaign a name and save it.
Single-Channel Campaign
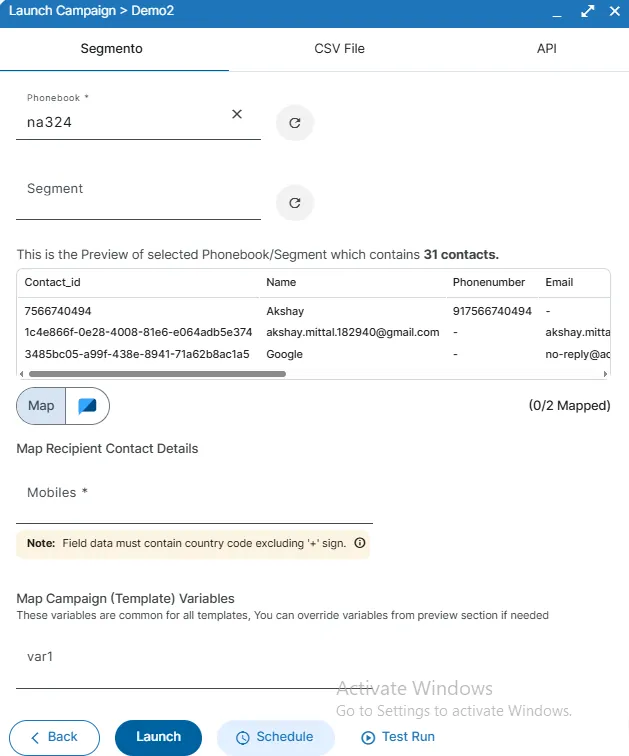
Select a channel and link its template from your MSG91 account. Choose contacts from the Segmento phonebooks, map the details, and proceed to launch or test the campaign.

Multi-Channel Campaign
Click Create Campaign to open a new window. On the right, you'll find various communication channels like SMS, Email, WhatsApp, Voice, and Push Notifications, along with filters for Countries, Delay, Frequency, A/B Testing, and Editor. Simply drag & drop the required nodes to design your campaign workflow.
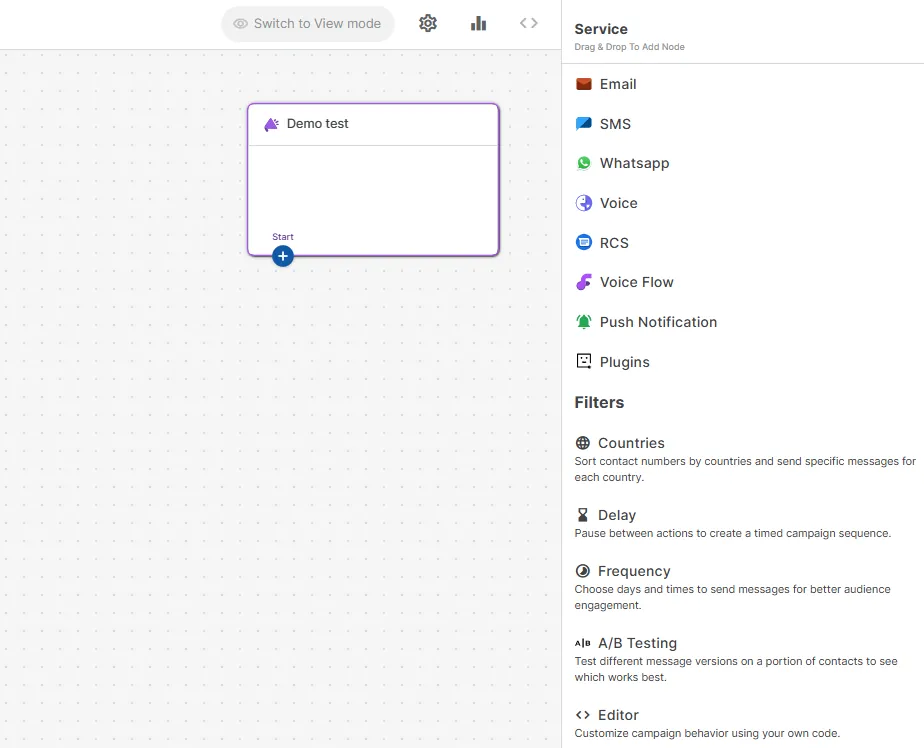
Drag the desired option from the Library to create the flow for your campaign. For example, we’ve dragged the SMS node.
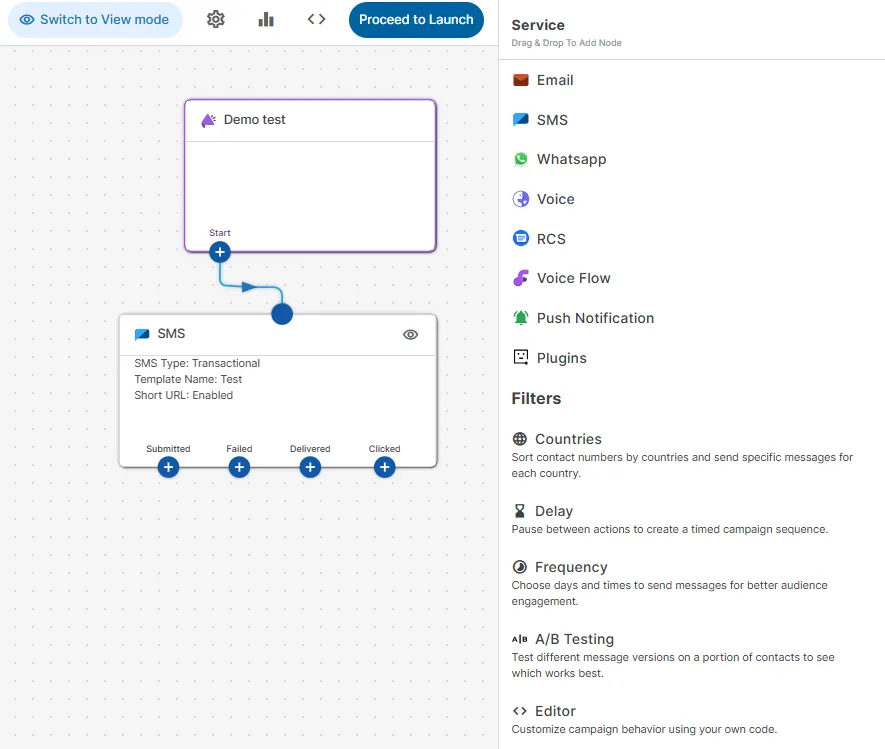
Next, drag the pin from Start and connect it to the SMS node.
If the campaign channels are not visible on the right side, click the pencil icon at the top to edit and adjust the view.
Top View of Campaign Tab
After this, click on the SMS Flow Node, and on the right side, you will get the option where you can select the templates created in the SMS Templates and select the SMS Type from the dropdowns given.

The Short URL checkbox is enabled by default, automatically shortening URLs in your content. If using a DLT-approved static URL, uncheck it to avoid SMS failure due to content mismatch.
Note: If you will not add any details under SMS Flow, it will be shown as "Incomplete" with an exclamation mark.
Click the Save button to update the node, and you will immediately see the changes reflected on the screen.
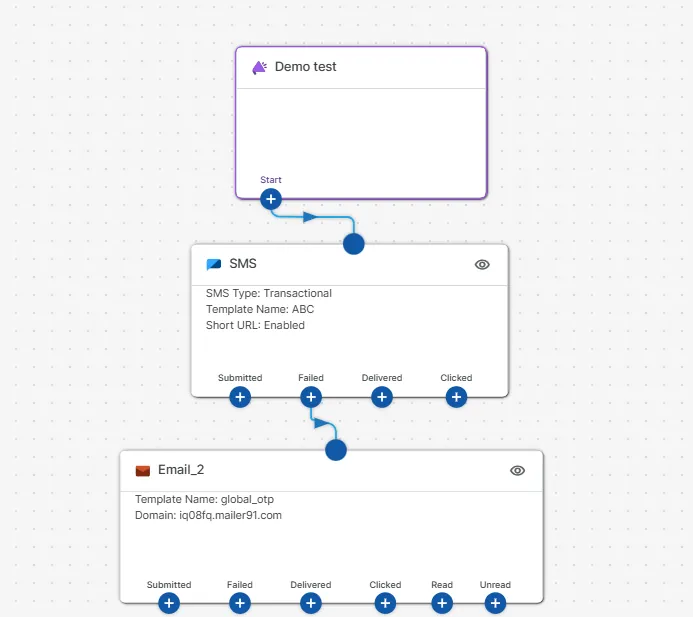
Similarly, you can use other communication channels such as SMS, email, WhatsApp, and more to design your campaign flow.
Note: It also helps in reducing campaign costs.
For example - if an SMS failed or goes unread, instead of sending the SMS again, you can trigger an email, WhatsApp message, or use any other channel to maintain engagement while reducing costs.
After creating the flow, you can use the code for your template.
Click on “Code” to view and copy the implementation details.

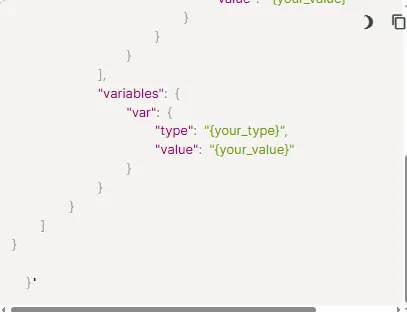
Here, you’ll find two variable formats.
If you want to send the custom variables to different mobile numbers, use the following code:
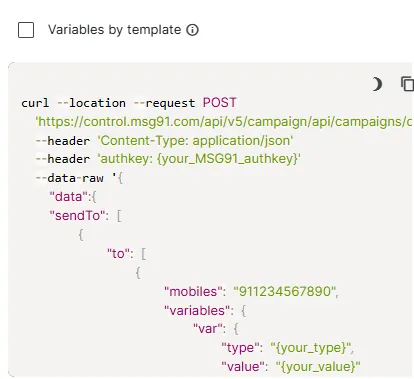
Syntax: "to": [
{
"mobiles": "911XXXXX890",
"variables": {
"OTP": {
"type": "{your_type}",
"value": "{your_value}"
}
}
},
{
"mobiles": "9198XXXXX10",
"variables": {
"OTP": {
"type": "{your_type}",
"value": "{your_value}"
}
}
},
{
"mobiles": "9199XXXXX78",
"variables": {
"OTP": {
"type": "{your_type}",
"value": "{your_value}"
}
}
},
If you wish to send the same variables to different mobile numbers, you can use this code.
Syntax: "to": [
{ "mobiles": "911XXXXXX90" },
{ "mobiles": "919XXXXXXX0" },
{ "mobiles": "919XXXXXXX8" },
{ "mobiles": "91XXXXXXX6" },
{ "mobiles": "917XXXXXX9" }
],
"variables": {
"OTP": {
"type": "{your_type}",
"value": "{your_value}"
}
}
For further details of campaign, please refer to the video.
you can customize complete flow as per your requirement
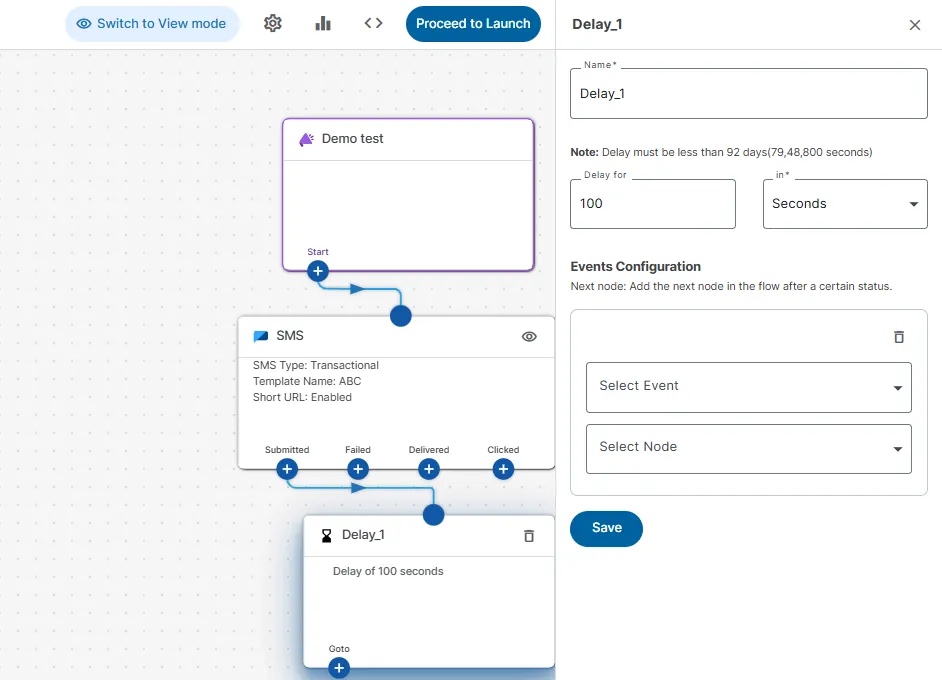
Next, let’s explore the Delay option from the filter menu on the right. The Delay Node allows you to set a time gap between two nodes in your campaign flow.
For example, to send an SMS first and a WhatsApp message after 2 hours, drag and drop the SMS Node, then add the Delay Node. Set the delay time, and in the next node, select WhatsApp as the channel. The message will be triggered after the specified delay.
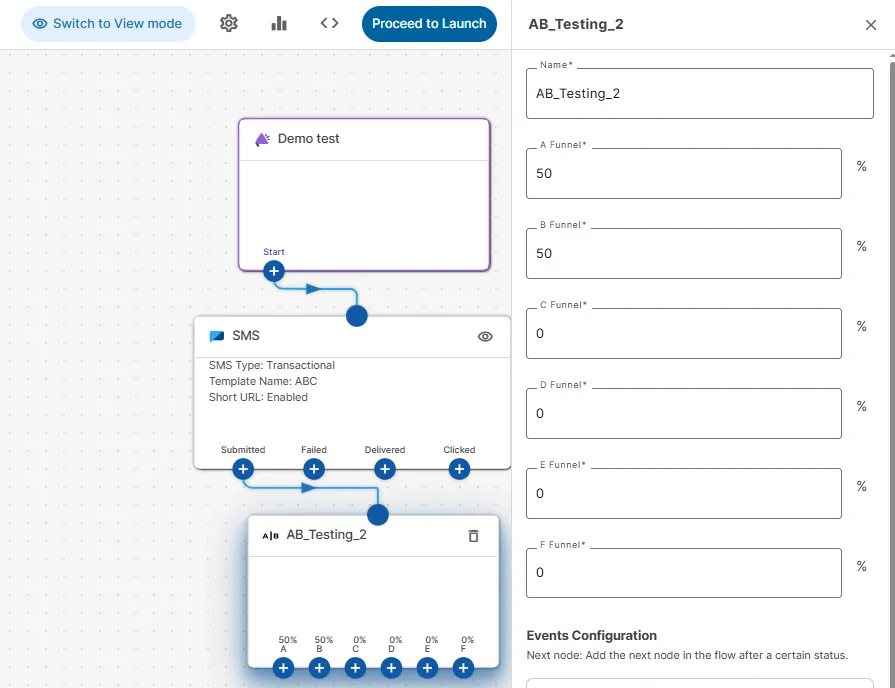
Next, let’s explore the A/B Testing option from the filter menu on the right. This feature allows you to test different communication variations to identify the most effective one.
For example, if you want to compare two WhatsApp messages or a WhatsApp message vs. an SMS, create two versions and apply the A/B Testing Node. The system will send one version to 50% of your audience and the other to the remaining 50%, tracking performance. Use the results to optimize your campaigns for better engagement and effectiveness.
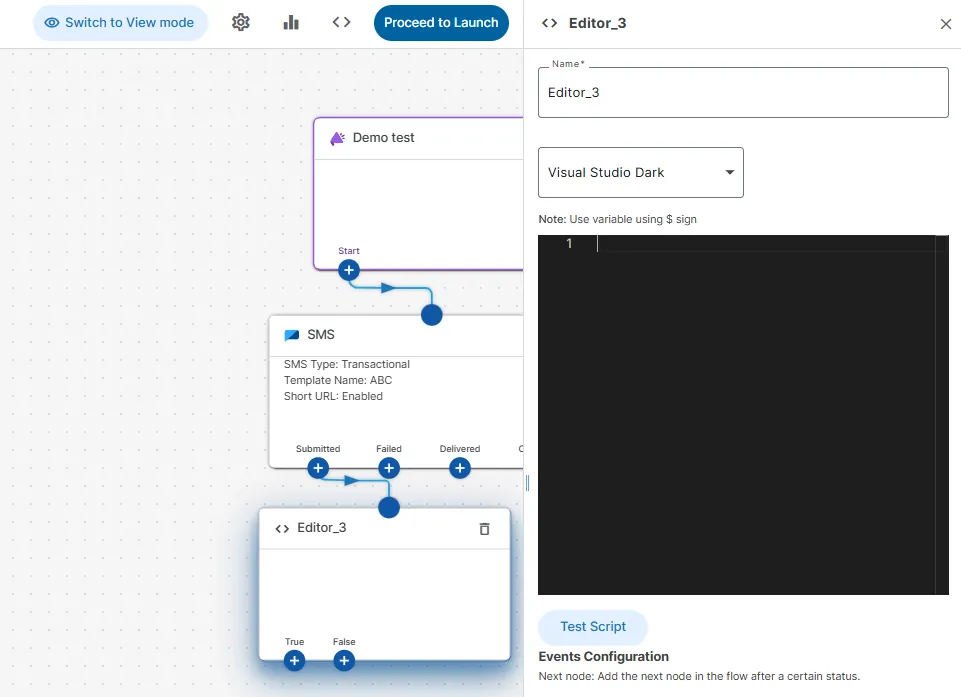
Next, let’s explore the Editor option from the filter menu on the right. It provides advanced customization beyond the standard options.
With the Editor, you can write JavaScript code to create and modify your campaign journey, allowing for greater personalization, enhanced functionality, and a more tailored campaign experience.
By following these simple steps, you can easily create and customize your multi-channel journey, enhancing customer engagement and improving your overall campaign performance.
If you still need assistance, Please reach out to Contact us