WhatsApp Payment Flow
Step 1: Go to the WhatsApp Manager, and select the phone number from the left-hand side panel. Click on Payment Configuration and then select 'India'.

Step 2: In Payment Configuration click on the 'New Configuration' button from the upper right-hand side corner.

Step 3: After clicking on the New Configuration button, a pop-up will appear, click on 'Get Started'.

Step 4: Please select 'UPI VPA ID', as the other options are currently unavailable.

Step 5: Enter the details appearing in the payment configuration pop-up window.

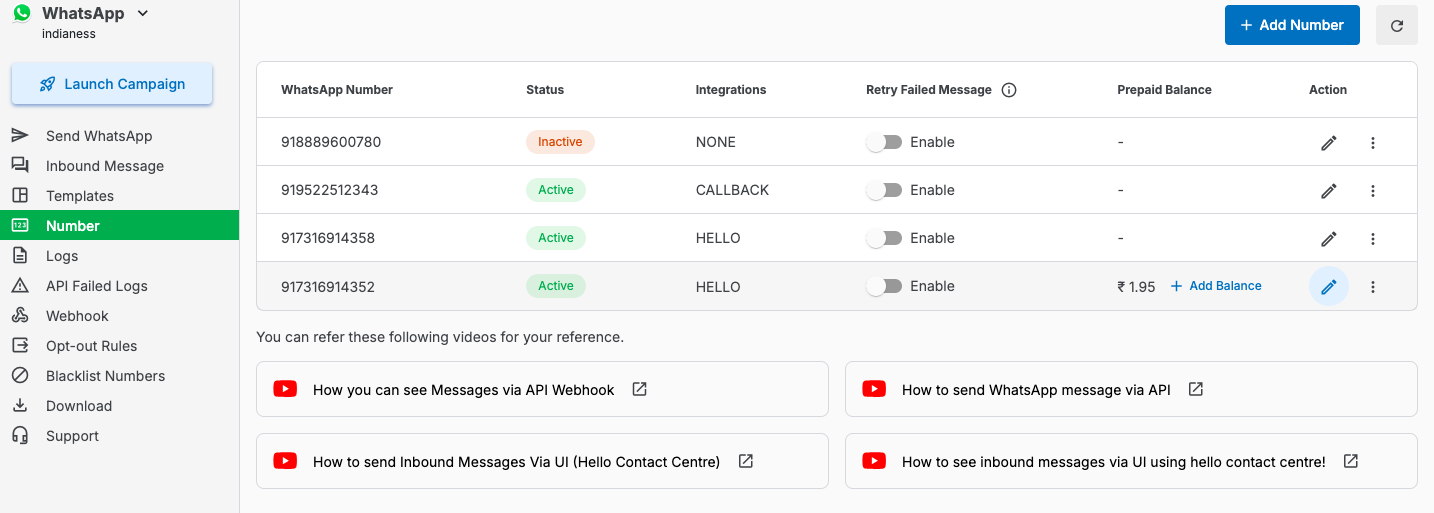
Step 6: Go to MSG91 WhatsApp Panel, and click on the Number from the left-hand side panel. Click on the edit icon from the action column.

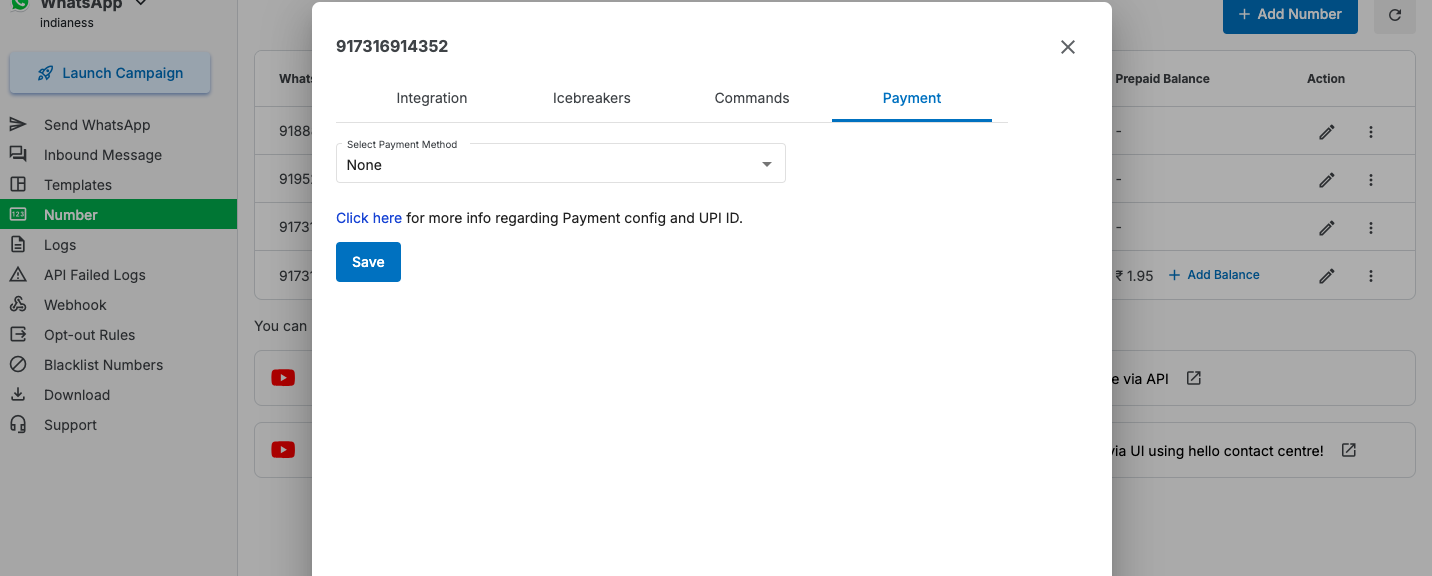
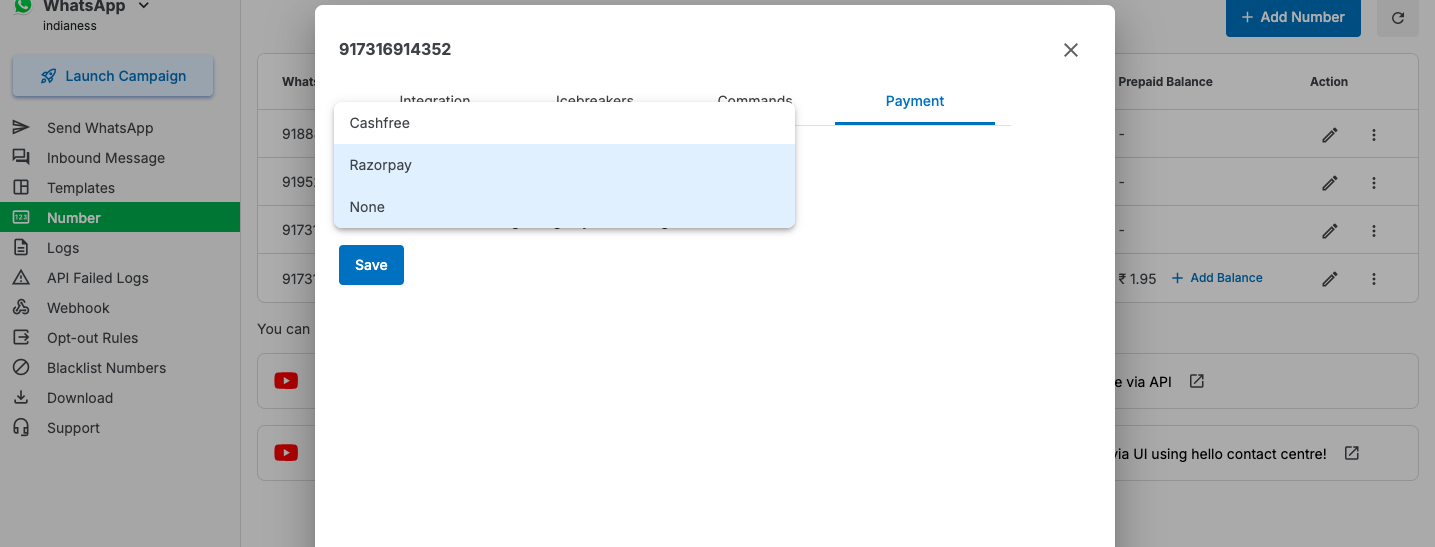
Step 7: Click on the edit icon from the action column. A pop-up will appear. Choose the payment method from the list then Enter the details of the Payment Configuration and then click on the 'Save' button.


Step 8: Click on the 'Send WhatsApp' option from the left-hand side panel. From there, businesses can send the catalog to their users and users can select the products.

NOTE: If sent without a country code, submission and deduction depend on the detected country based on the starting number: For, 91xxxxxxxxxx, etc
Step 9: A sample message is provided below to show how the catalog messages will be displayed to users.

Step 10: Users will select products from the catalog, and upon proceeding, the business will send interactive automated messages for payment.

Step 11: When the customer proceeds with the 'Continue Button' he will see the payment option to pay with the WhatsApp UPI.

Step 12: The customer will receive a confirmation of the payment as soon as he completes the payment.

1663832908583941.png)