Easy Steps to setup Segmento
🎥 Prefer video? Watch our full Segmento setup guide here: - https://video-faq.viasocket.com/demo/cm66er2h105boxl0iftwotzmr
Step 1: Log in and Access Segmento
Log in to your MSG91 panel.
Select Segmento from the menu.
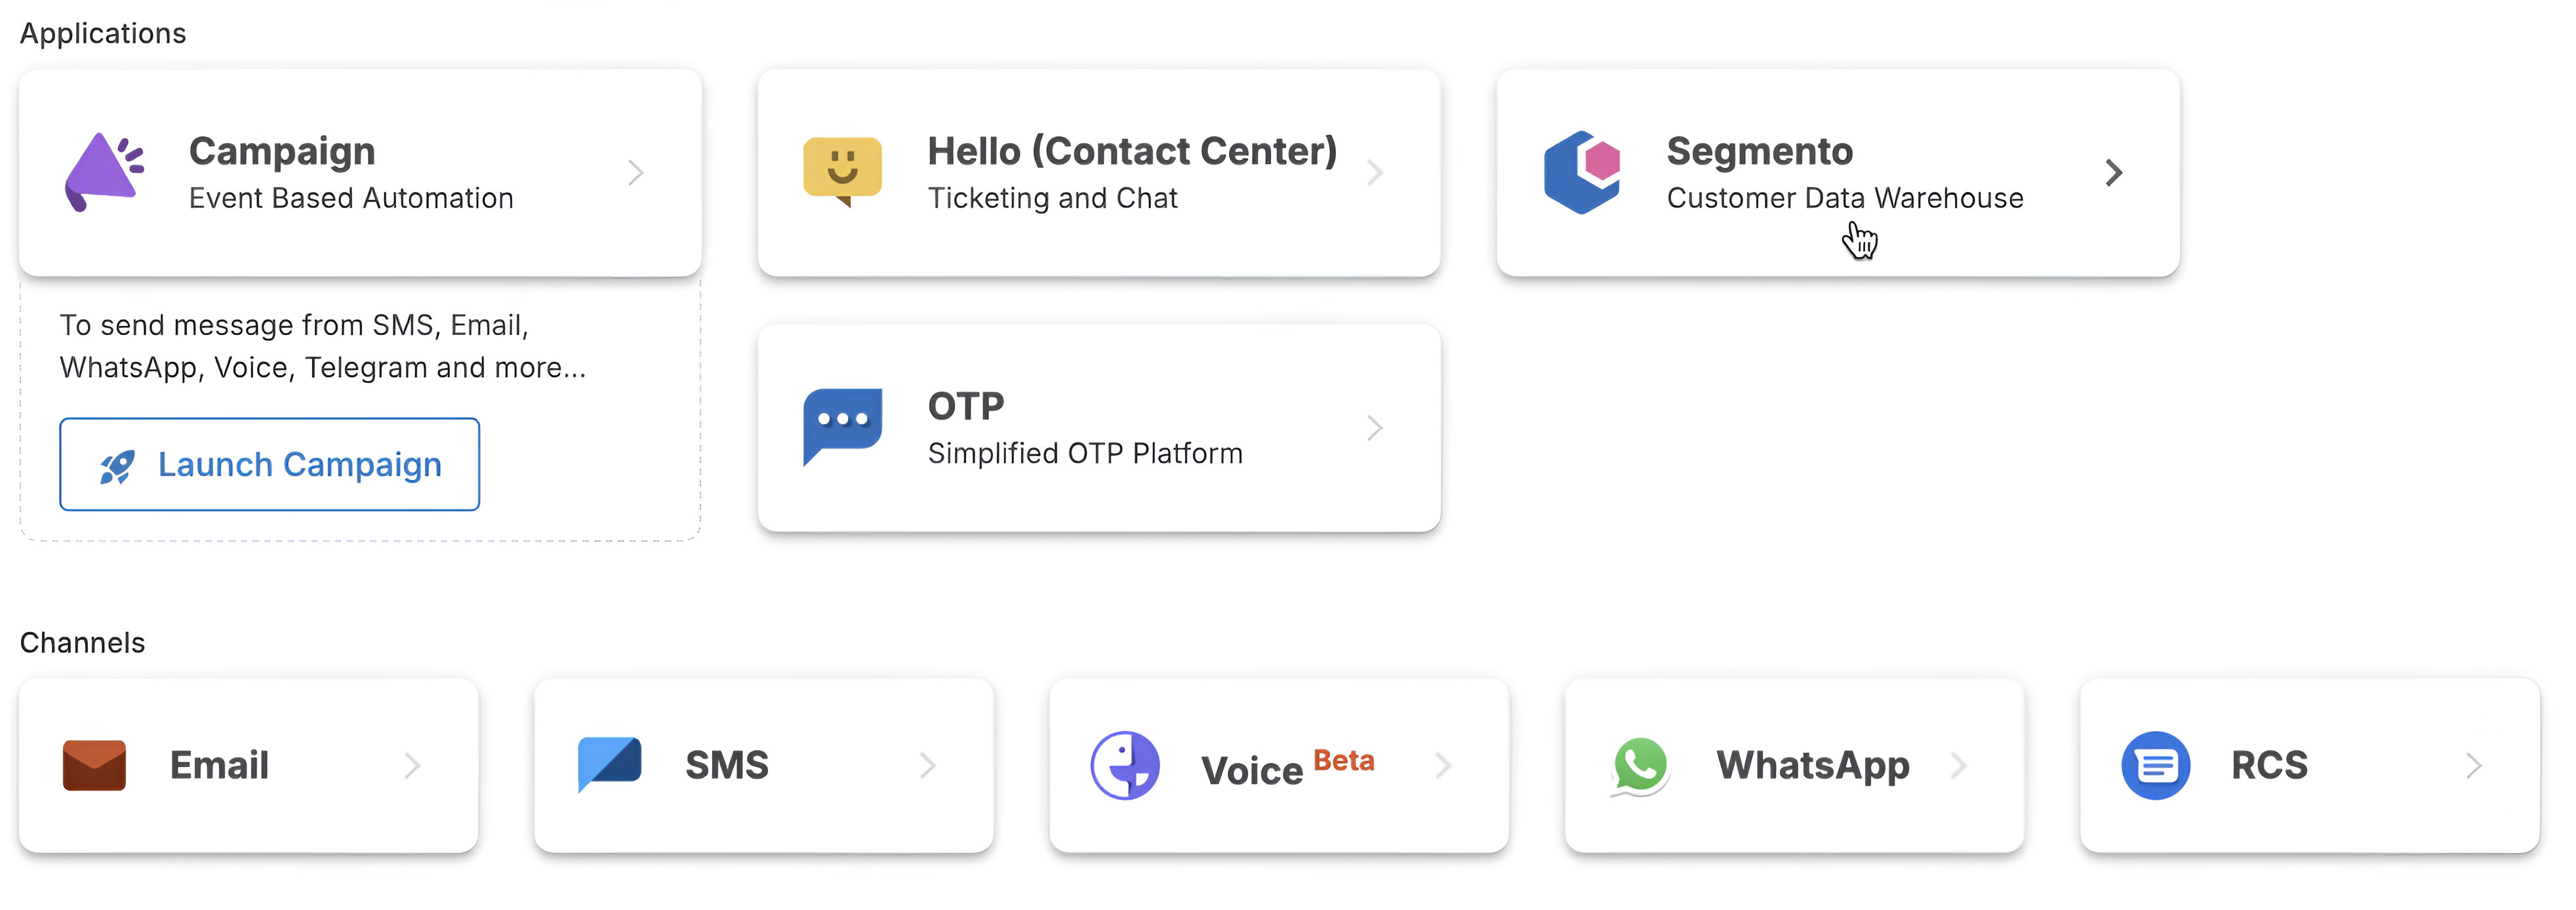
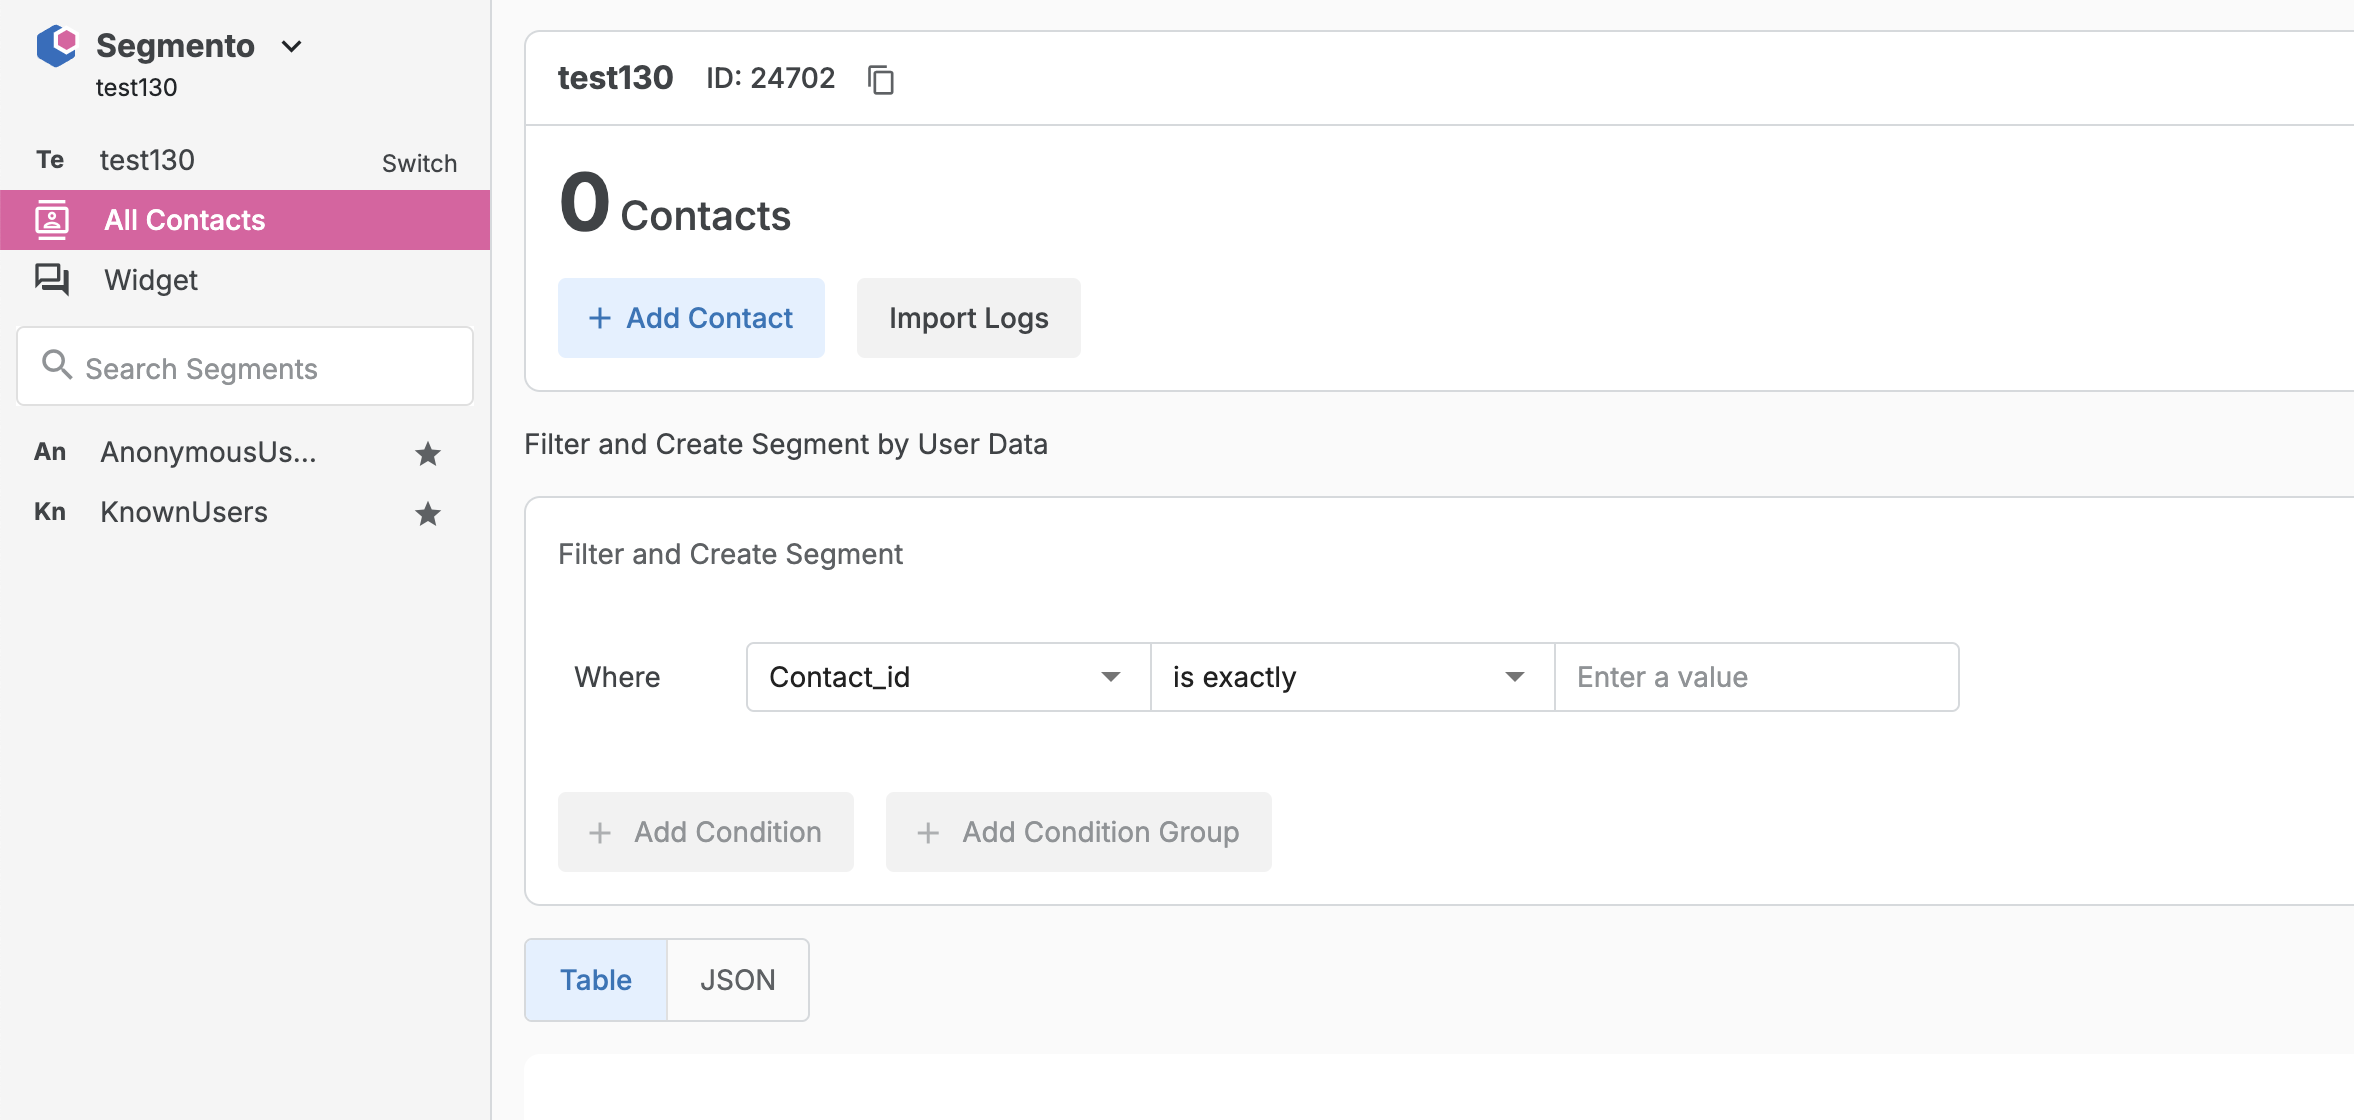
Once you enter Segmento, you’ll land on the Segment dashboard.
At the top-left, you’ll find your default phonebook. Click on it to either:
Use the default phonebook, or
Create a new phonebook as per your requirement.

Step 2: Use the Default Phonebook (Recommended)
We suggest using the Default phonebook to manage all your contacts and events efficiently. It reduces the chances of duplicate contacts and simplifies segmentation.
Step 3: Customize Columns
Click on Column Settings to add or modify fields:
Select from existing fields.
Or click “Add Column” to create custom fields.
Enter your field name and select the appropriate type. Then click Add.
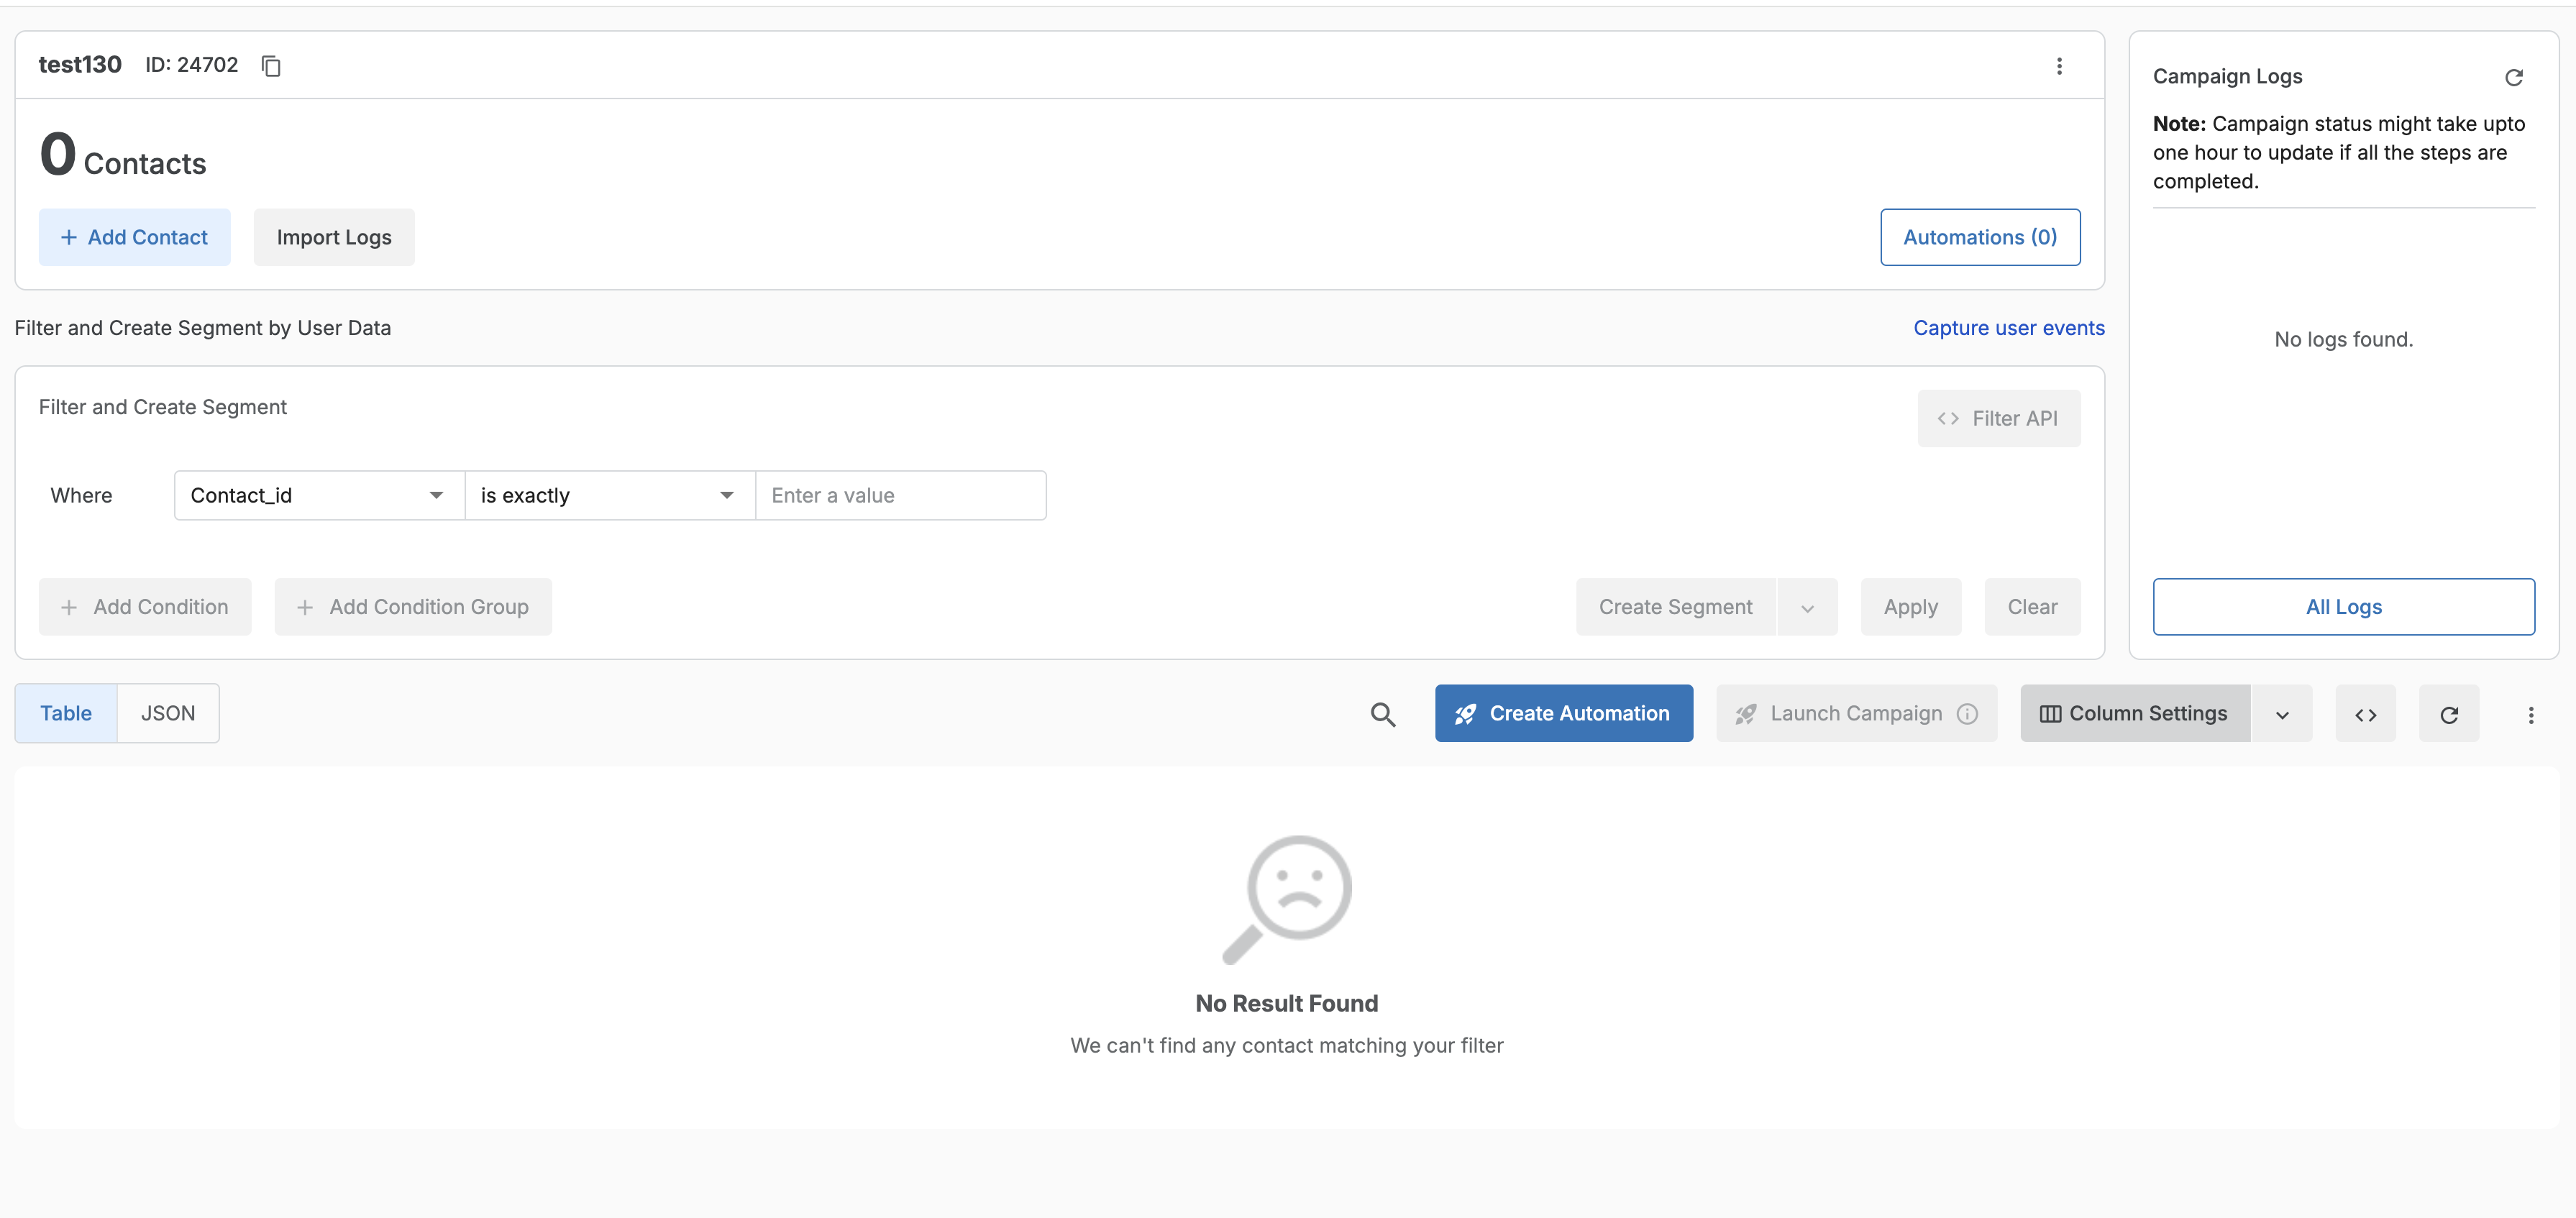

Step 4: Add Contacts
Click on Add Contacts to start uploading your contacts into the phonebook.
You can add contacts in any of the following ways:
➕ Upload CSV
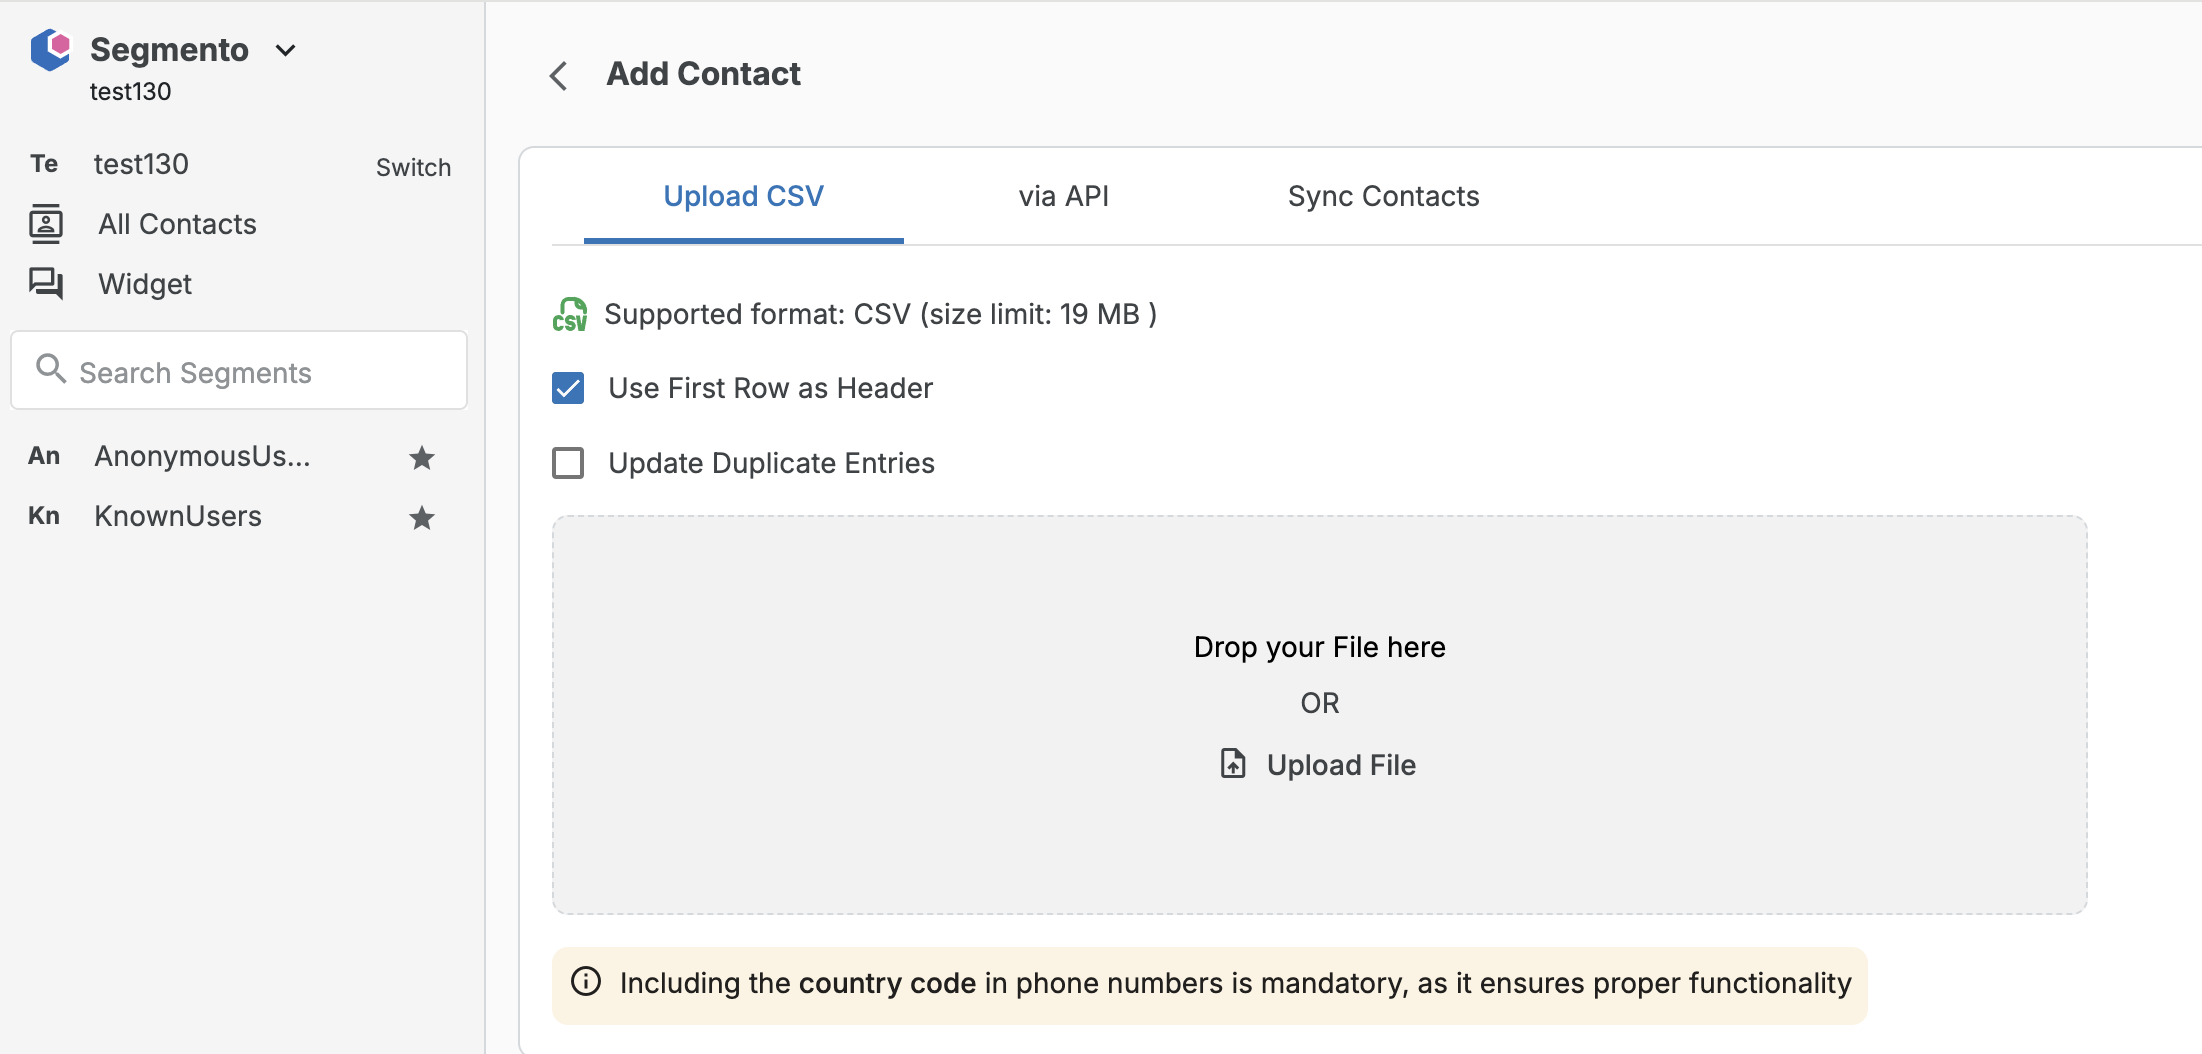
🔄 API Integration
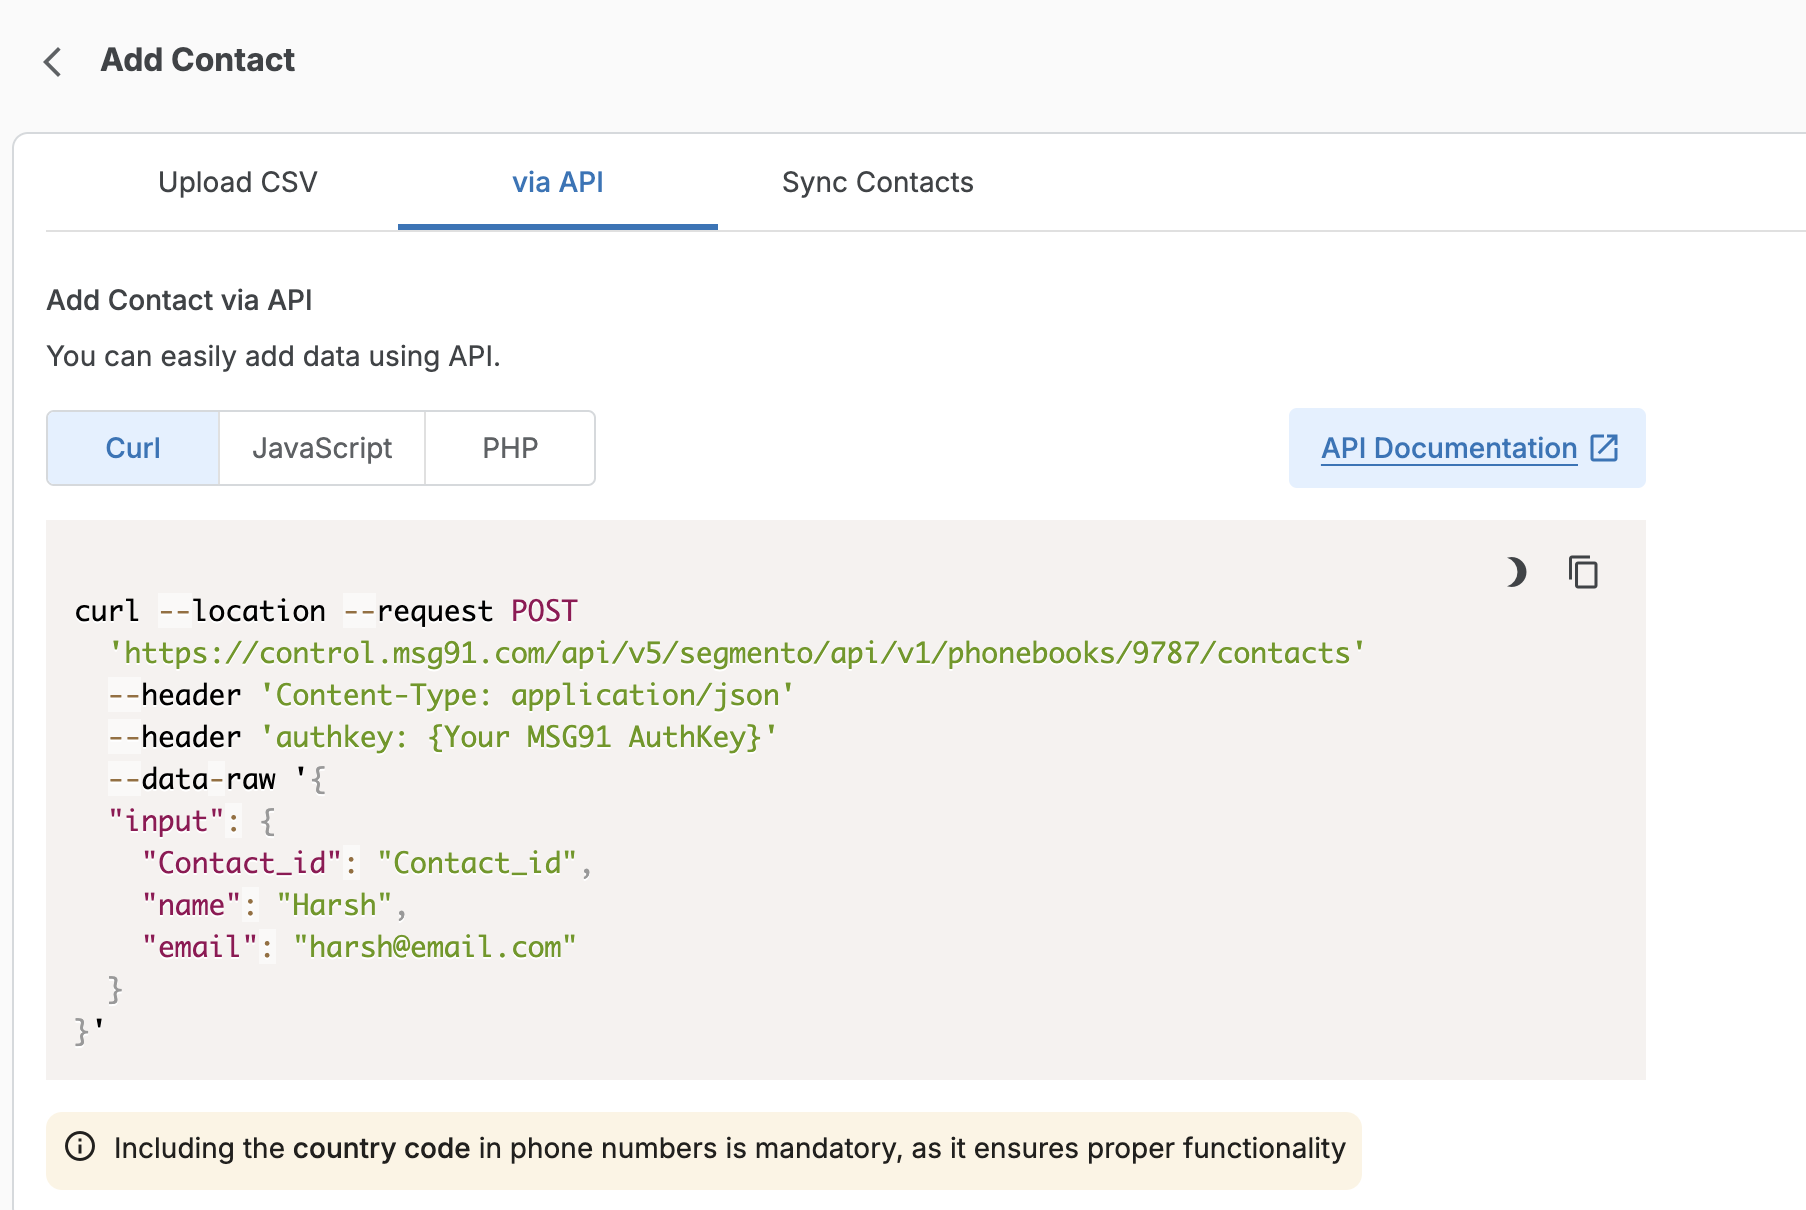
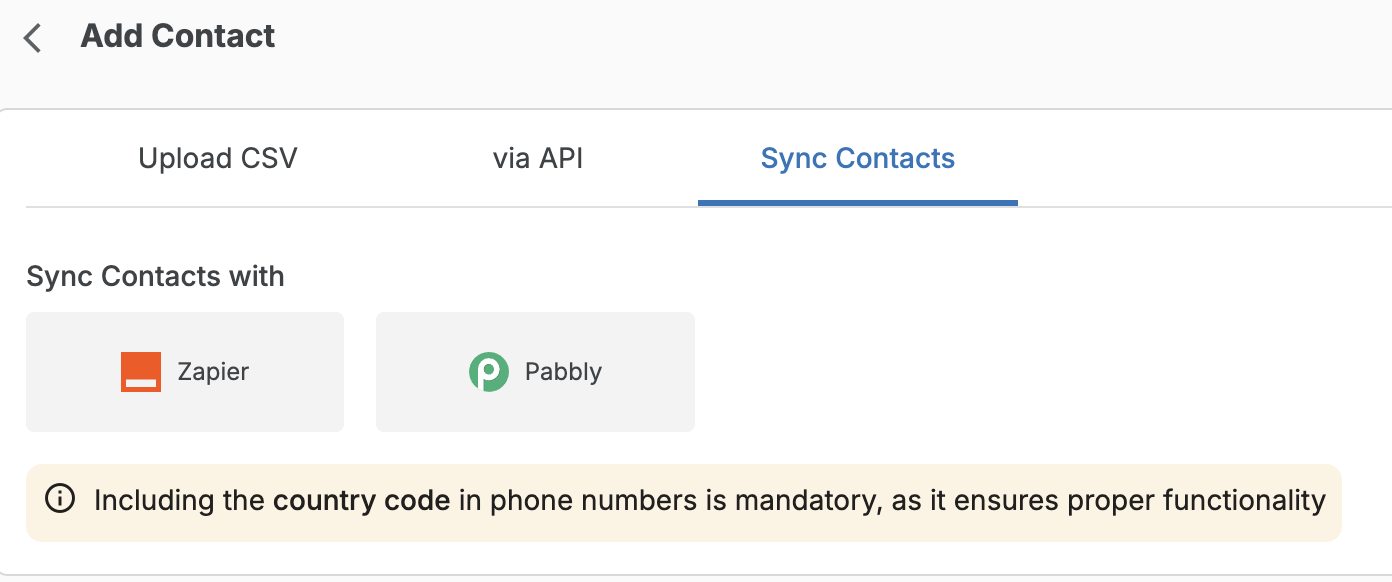
🔌 Third-Party Sync (e.g., Zapier, Pabbly)
After uploading, map the columns to the correct attributes using the dropdown provided.

🆕 Step 5: [Optional] Set TTL (Time-to-Live) for Known Contacts
Now you can choose to auto-delete known contacts from a phonebook after a set number of days.
🔧 How to Enable TTL:
While creating or editing a phonebook.
Set a numeric value (in days) for how long the known contacts should remain.
For example: "known_expiry": 5
This will automatically remove known contacts after 5 days.
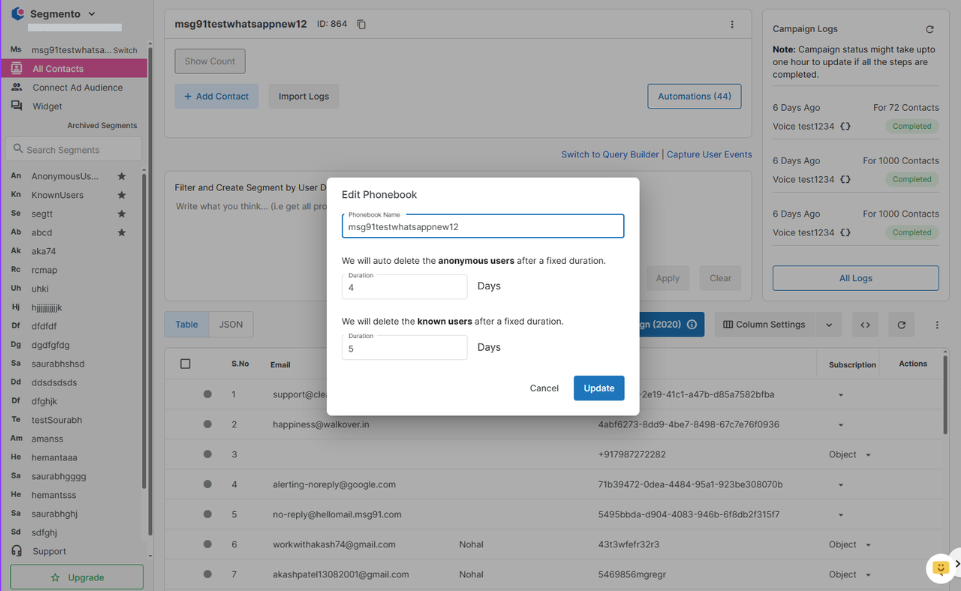
⚠️ This feature is disabled by default. You must manually configure it in the segmento section if you want to enable it.
✅ You're All Set!
By following these steps, you can quickly configure Segmento, upload your entire contact database, and now even manage automatic contact expiry to keep your data fresh and relevant.
1663832908583941.png)