Chat Widget Integration
The Live Chat Window in Hello enables direct communication between your customers and your team, right from your website or mobile app. It supports voice calls, video calls, and screen sharing, helping businesses assist users remotely and capture sales leads.
Steps to Create and Integrate the Live Chat Widget
Go to Hello Panel
Log in to Hello and open the Hello panel.
Create a Chat Widget
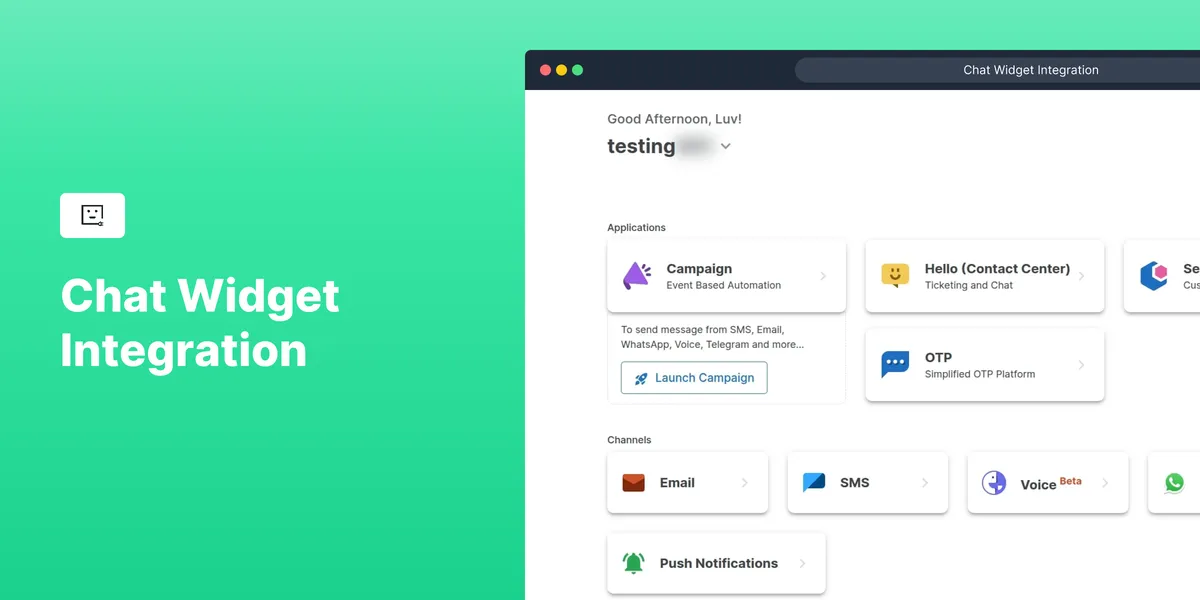
Navigate to Manage → All Inboxes.
Click “Create Inbox” on the top-right corner.
Select “Create Chat Widget.”
Configure Widget Settings
Name the widget and add a tagline (visible in the chat window).
Assign a team to the widget (the team name will be visible to users).
Set up Launch Options:
Hide Launcher (if needed).
Default Launch Widget (auto-open or manual).
Enable form to collect user data (pre-chat form).
Click Save.
Integrate the Widget
On the top center, click Integration (next to Configuration).
Copy the JavaScript code for websites or use the Mobile SDK and add this to the application’s code.
Follow the instructions provided to embed and activate the widget.
Test the Widget
Perform two-way communication via the live chat window.
Test additional features like screen sharing, voice calling, and video calling (refer to dedicated docs for these features).
Test the Live Chat on MSG91’s Website
You can also try the live chat widget in action directly on the MSG91 website before integrating it on your own platform.
Configure the widget level settings and see how to enable voice chat bot in the widget
▶️ Watch the video guide below for complete setup instructions.
If you want to test the chat widget before integrating on your website, you can copy the chat widget script and run it on any third party tool like w3school etc.