How to create a transactional email template with API Integration detail
To create a transactional email, you can follow these simple steps:
1. Login to the MSG91 user panel and click on Email.

2. Go to the Templates section and click on the "Create Template" option.

3. You will get three options to create a template, i.e., Generate via AI , Drag and Drop Builder and HTML & Text Editor.
MSG91’s Drag & Drop Builder lets you create emails easily without any coding. You can design whatever you want in just a few minutes.
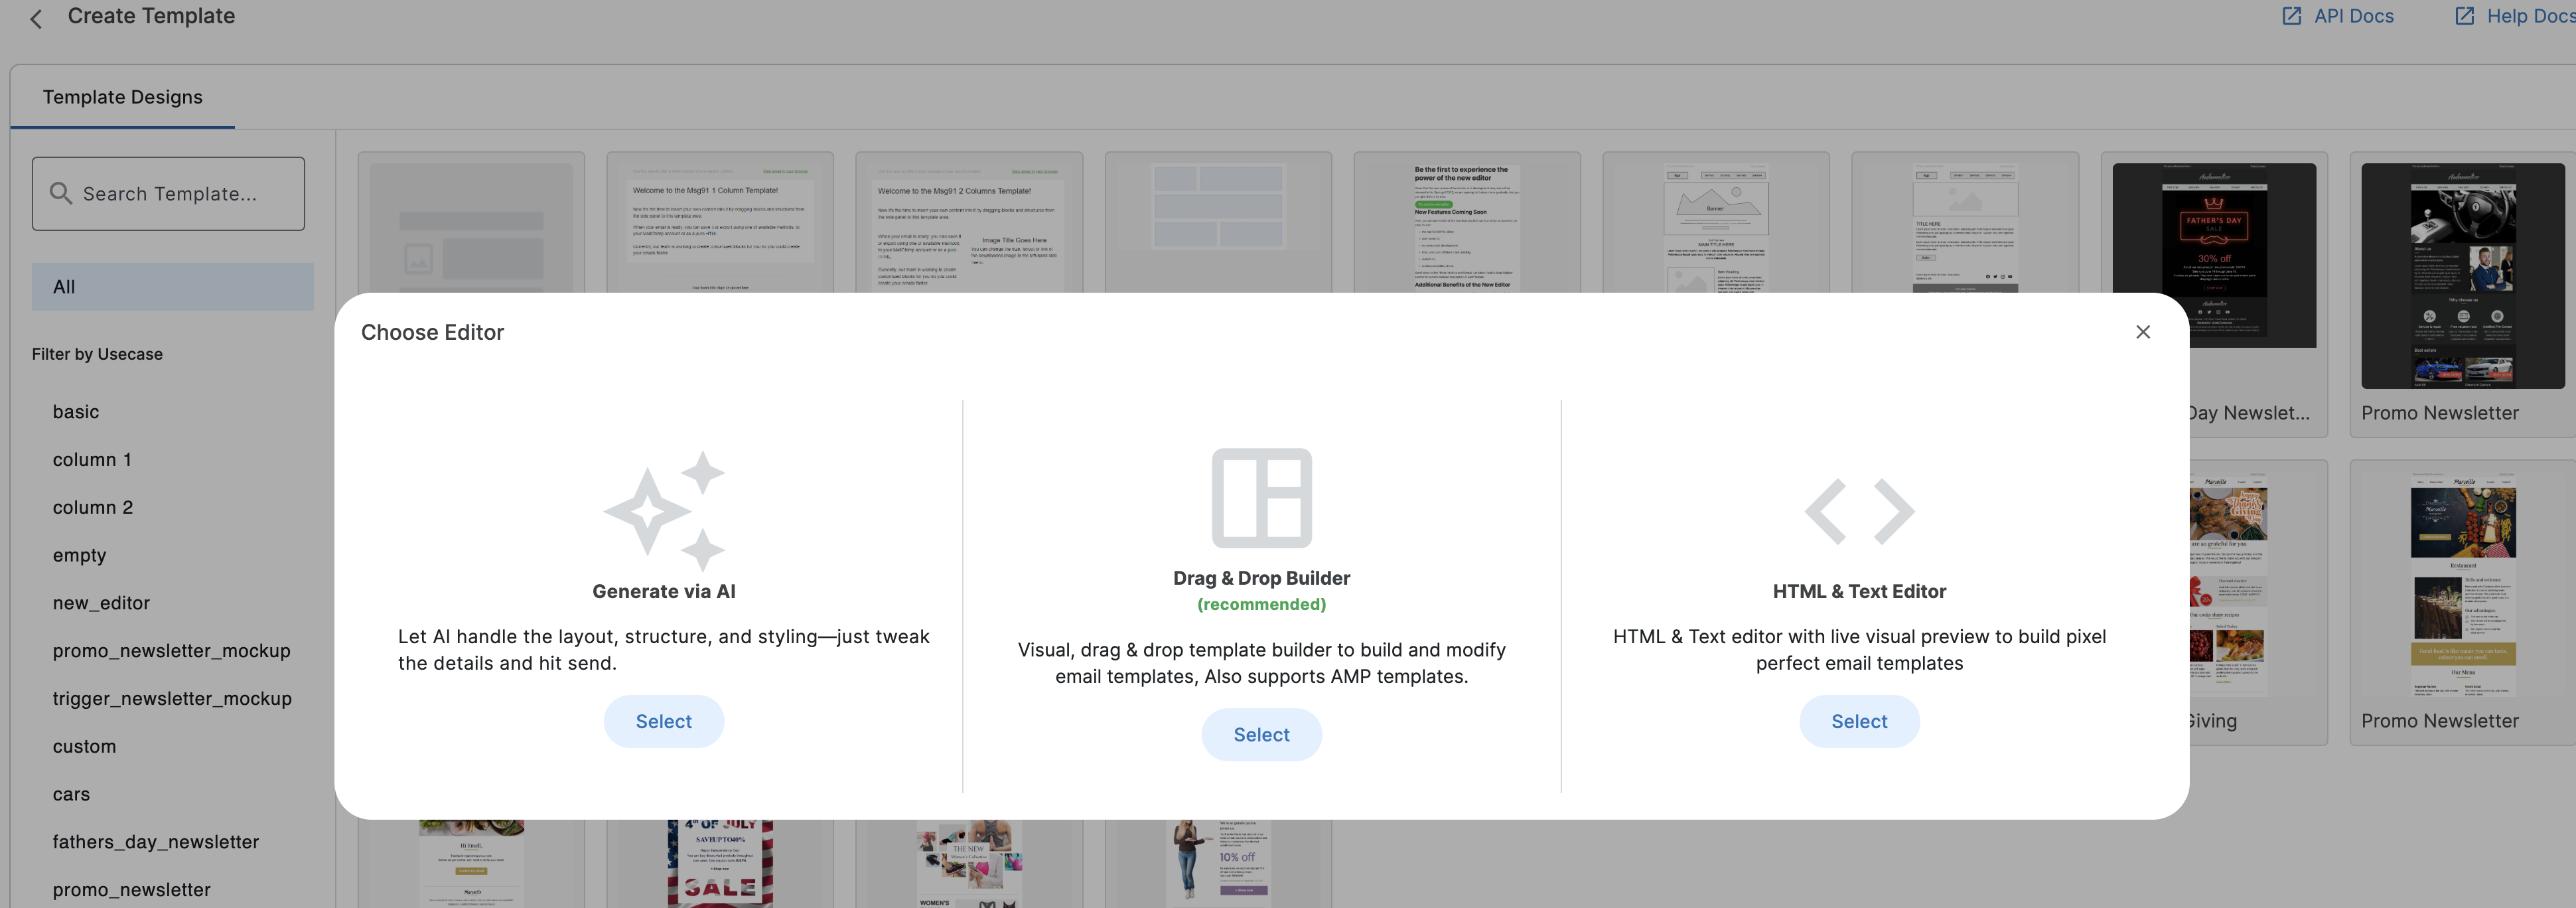
Additionally, there are pre-designed templates available. You can choose any template and customize it to fit your needs.

4. Select Drag and Drop Builder and Enter the template name and Subject and then you will see the following window. Select "Appearance" or "Content". These contain all the required options for the necessary settings to be made while drafting a template. Draft a template of your wish.

5. You can create your template by simply dragging and dropping elements like images, videos, and buttons. Once designed, click on Preview to review your template, then submit it for approval.
Approval usually takes 10 to 30 minutes.

6. If you're creating a template using the "HTML & Text Editor", a new editor window will open.
You’ll find various formatting options — for example, you can add links or upload images (PNG, JPG, or GIF format, up to 1MB) using the "Insert Image" option.
Once done, click Preview to review your template before submission.


7. Click on “Add Variable” to insert as many dynamic fields as you need — for example, name or contact number in your email content.
Note: After adding variables and content, click “Save”, enter your template name and subject, and then save the template.

8. From here, you may even make changes in the HTML code as per your preference.

Note-
If you are set on using CSS, your best bet is to use inline code. This is the most effective and widely used method for including CSS in HTML emails. The benefit of using inline CSS is that most email providers will support this style, which means you’re likely to get the best results without running into any formatting trouble.
To convert your HTML with internal CSS to inline CSS please refer: https://docs.msg91.com/p/tf9GTextN/e/tgGqMm8mH/MSG91
API Integration
1. In the Email section only, click on “Domain Settings” on the left side of the Email Dashboard. Select API Integration & Copy the APIs and integrate them into your system.


NOTE: In case, you're testing the 'Send Email' API with the default testing domain, use the email address you used to create your MSG91 account as the recipient email address.