WhatsApp Payments Config for Razorpay!
Connect the Razorpay Payment Config in your Meta Business Account for WhatsApp payments
Open your WhatsApp business manager:
a. Go to meta business account in which the number exist with which we want to connect the payment in
b. Click on business settings
c. Click WhatsApp accounts from the left panel
d. Go to WhatsApp manager at the bottom. -
e. Now in the left button under Payments heading select the - India
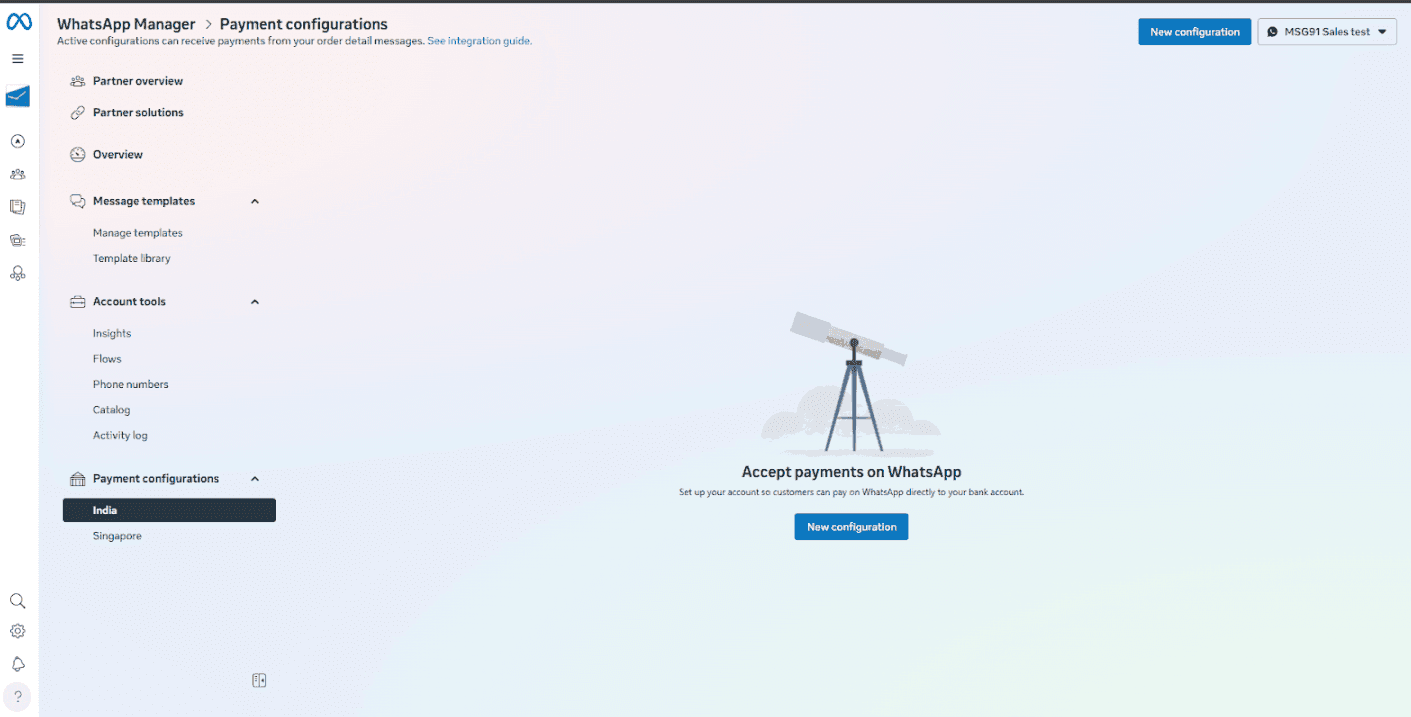
Click on New configuration and click on Get Started :
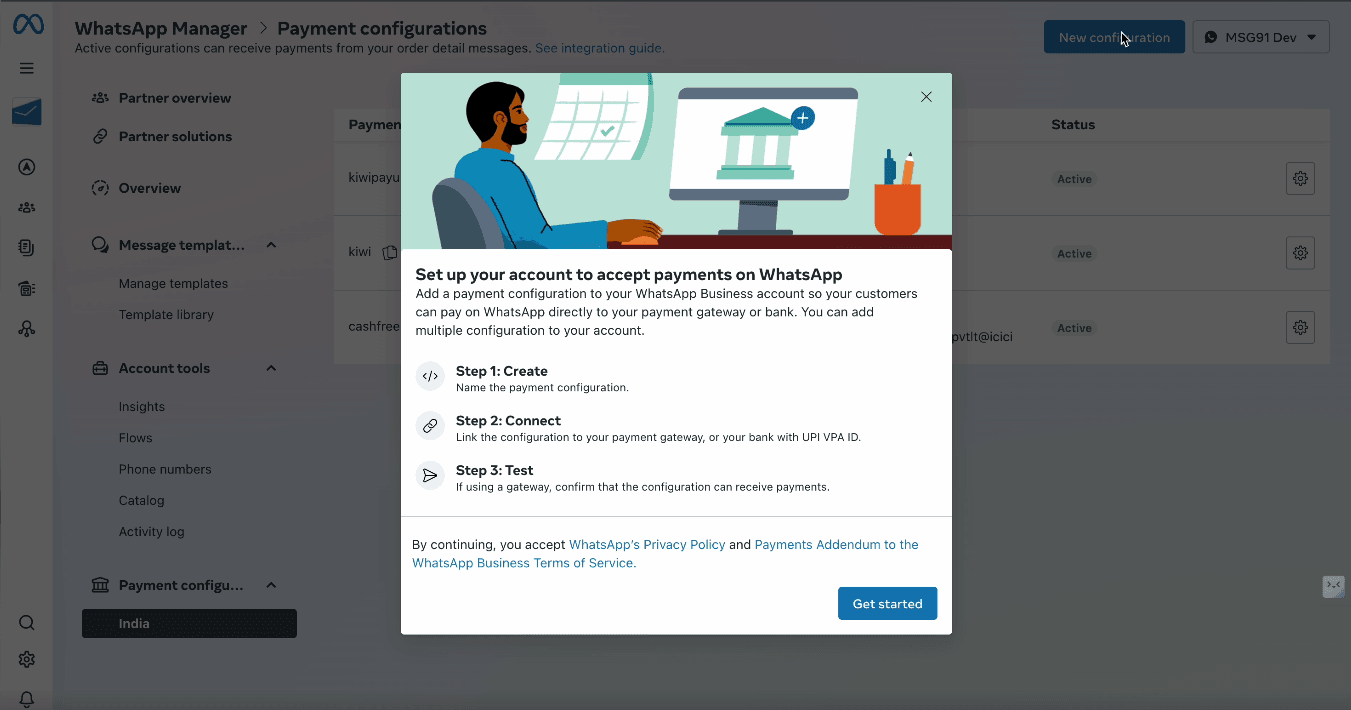
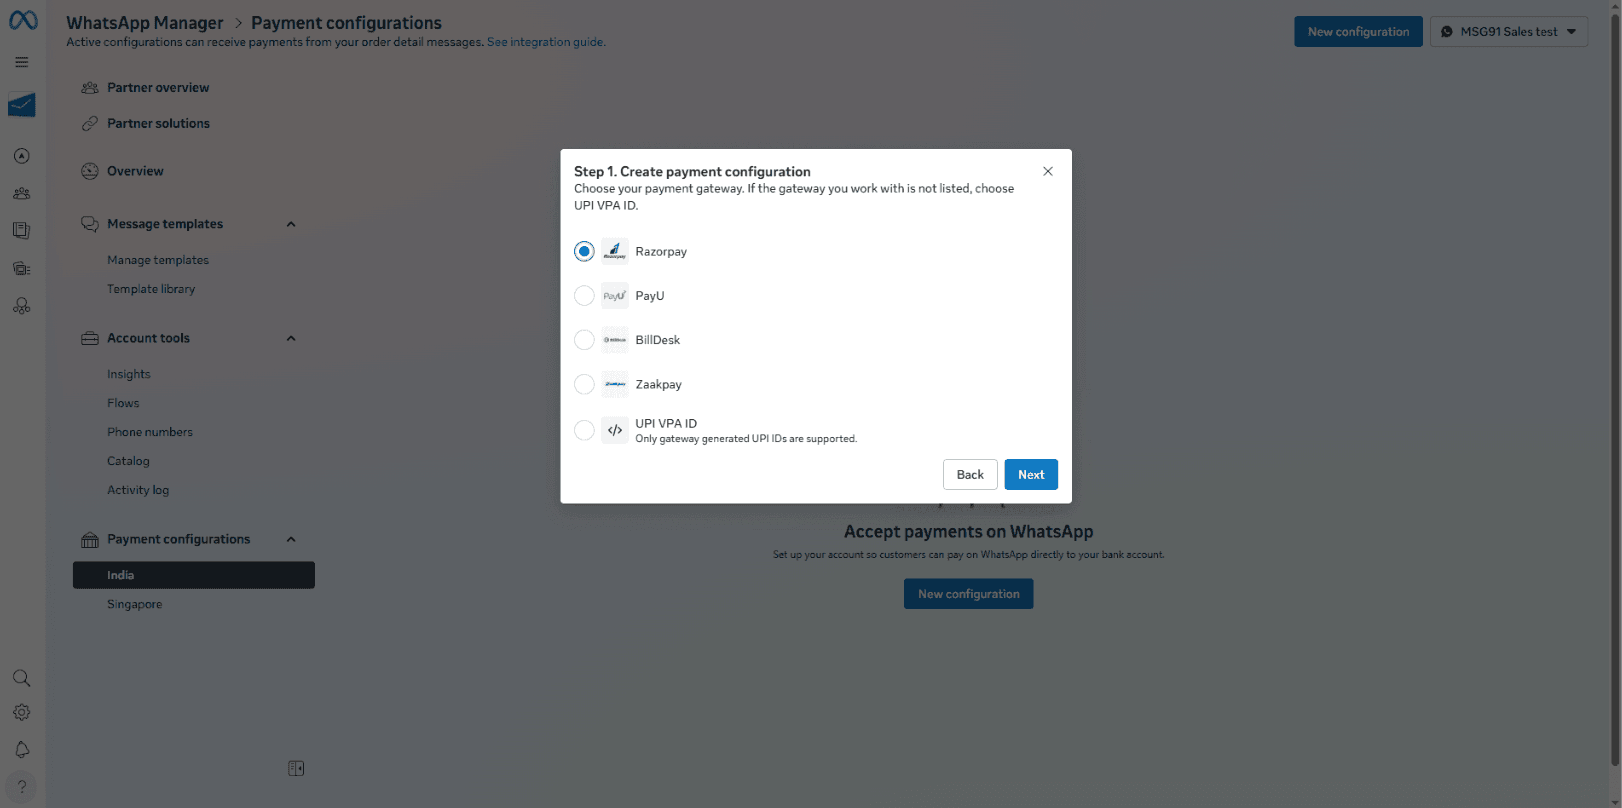
Click on Get Started- select the Razorpay option:
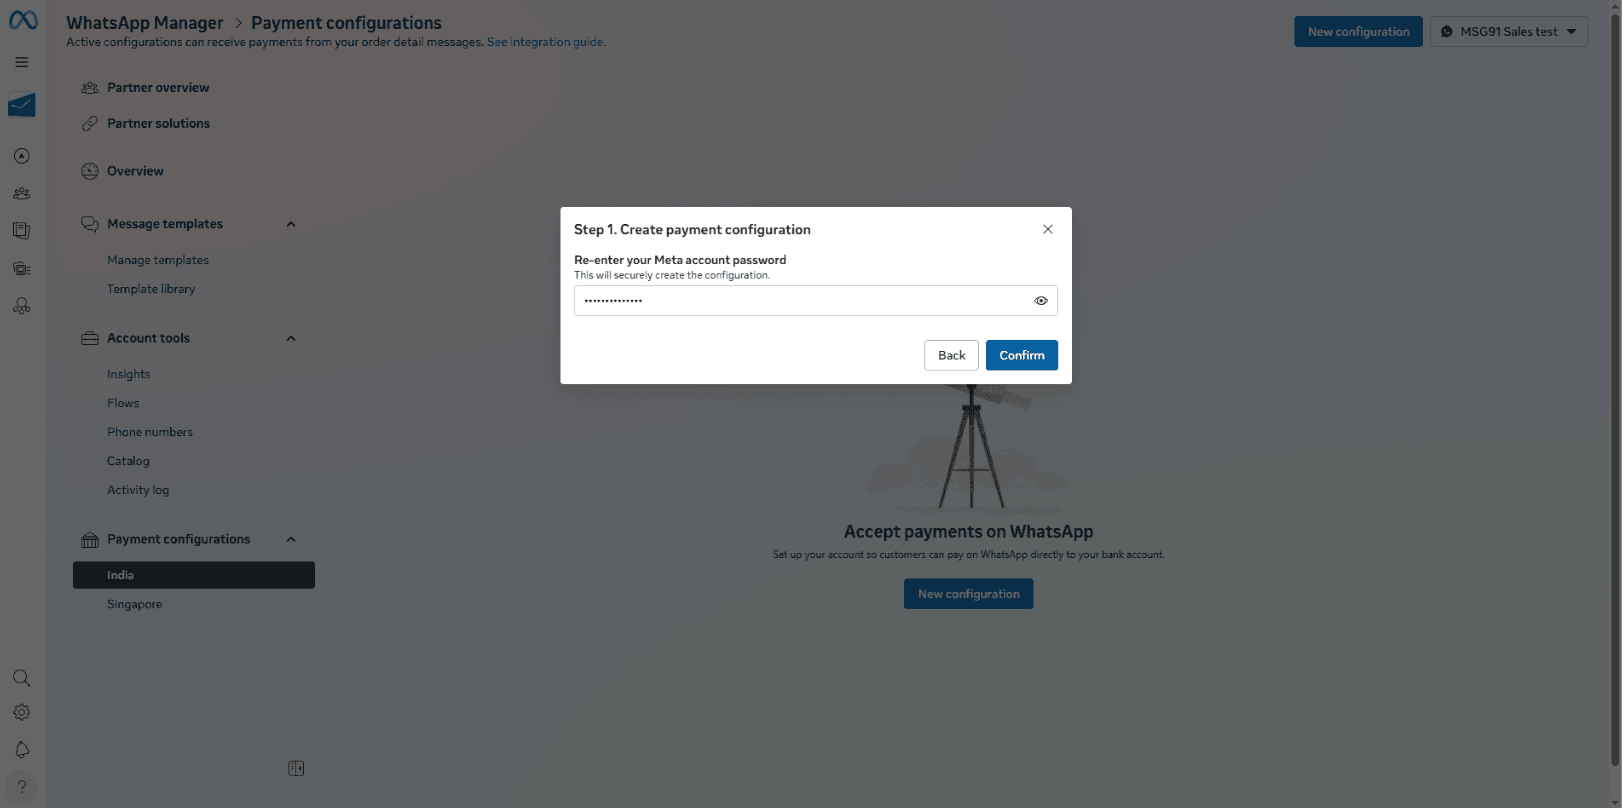
Give your payment configuration a name:
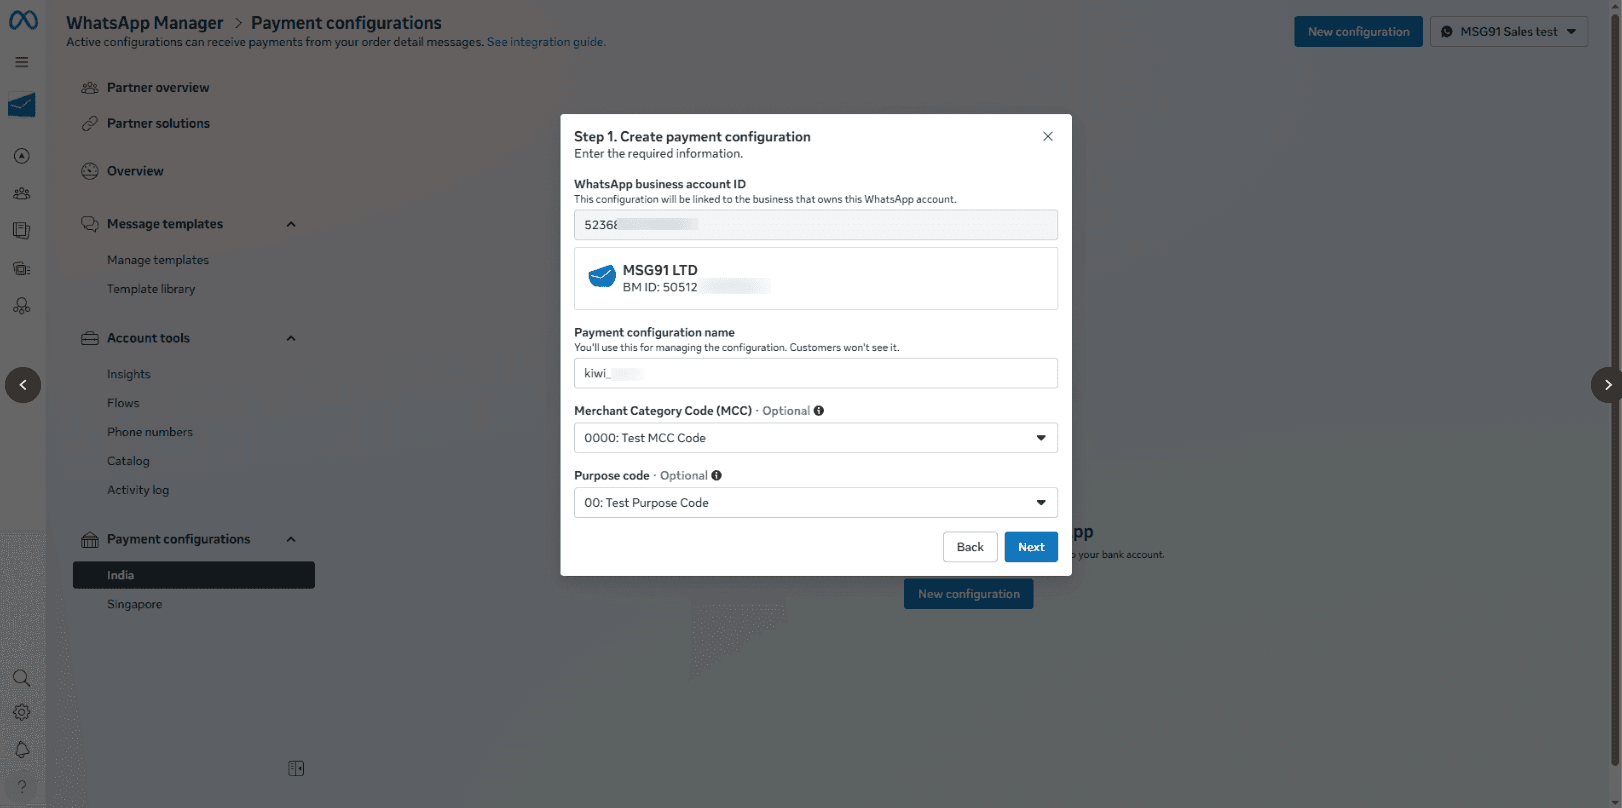
Click on confirm
You'll need to fill the account owner's gateway log-in information- Select Connect Now:
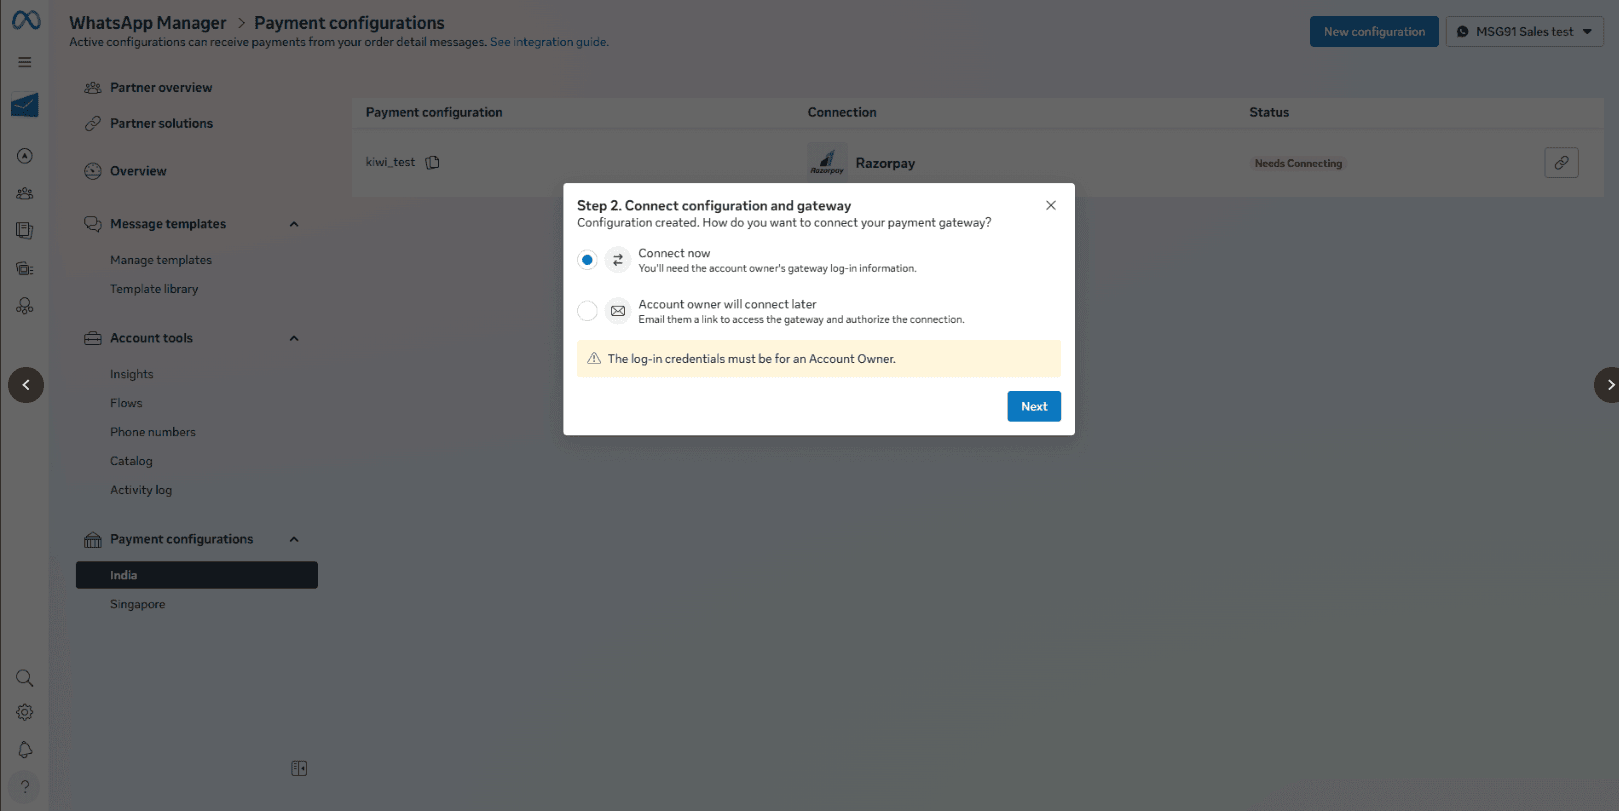
It will redirect you to Razorpay, you can login into your account and add the required details and connect.
Copy the Payment Configuration Name:
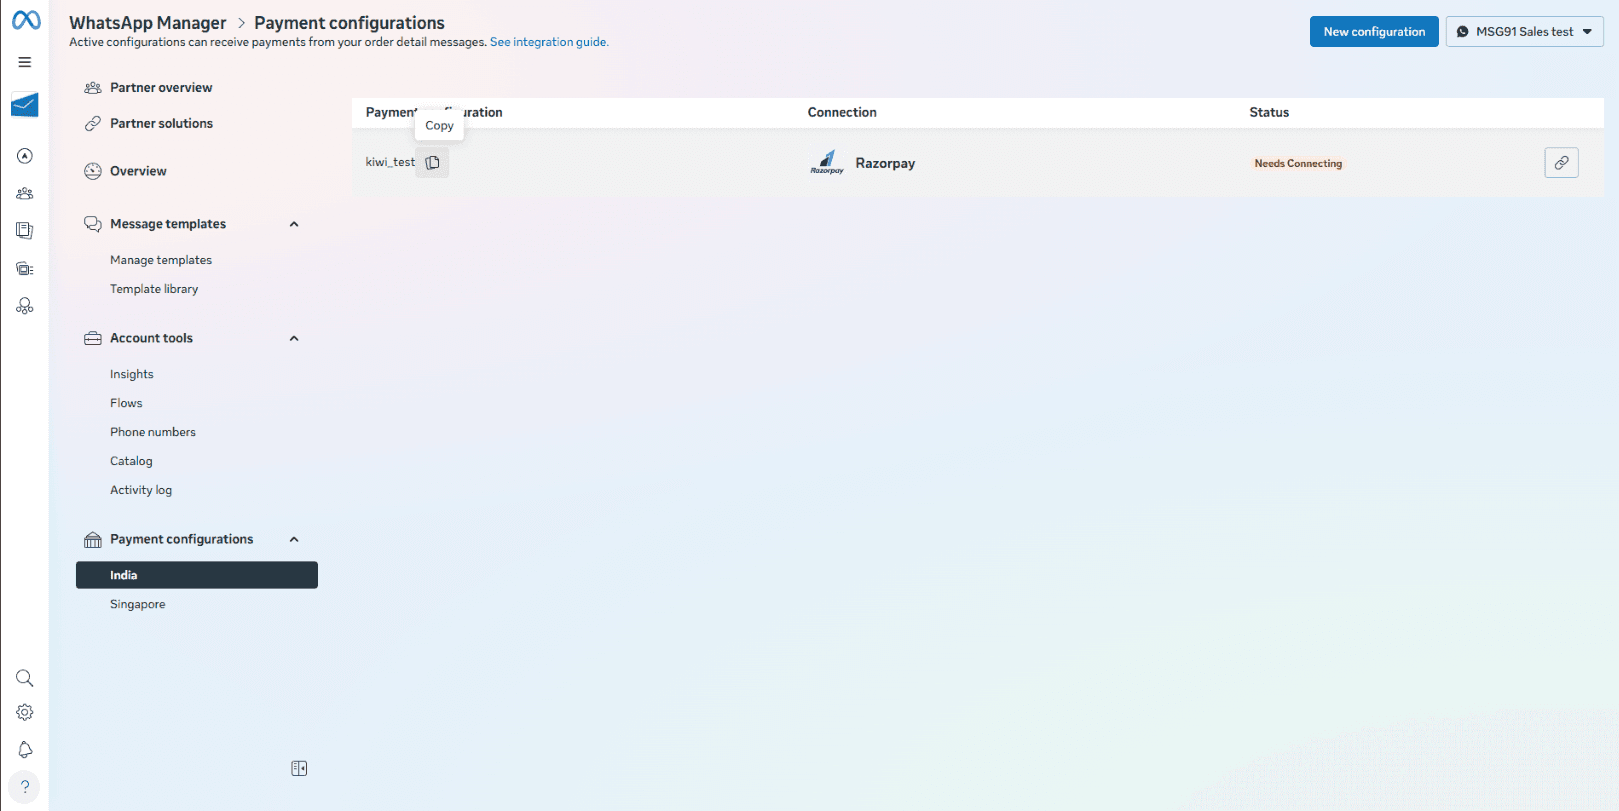
Once this is done, we will connect on this config with MSG91 panel.
Go to MSG91 panel- Click on WhatsApp
Click on Numbers section of WhatsApp
Click on 3 Dots under Action Tab of the number on which we have to connect the WhatsApp Payments.

In Action - select the Payment - In Payment option select the Razorpay:

Insert the payment config name, that we have copied before from the Meta business account:

Click Save.
Now your WhatsApp Payments is connected with MSG91.
Now your clients will be able to pay through WhatsApp Payments from that number.