Easy Steps to setup Segmento
🎥 Prefer video? Watch our full Segmento setup guide here: - https://video-faq.viasocket.com/demo/cm66er2h105boxl0iftwotzmr
Step 1: Log in and Access Segmento
Log in to your MSG91 panel.
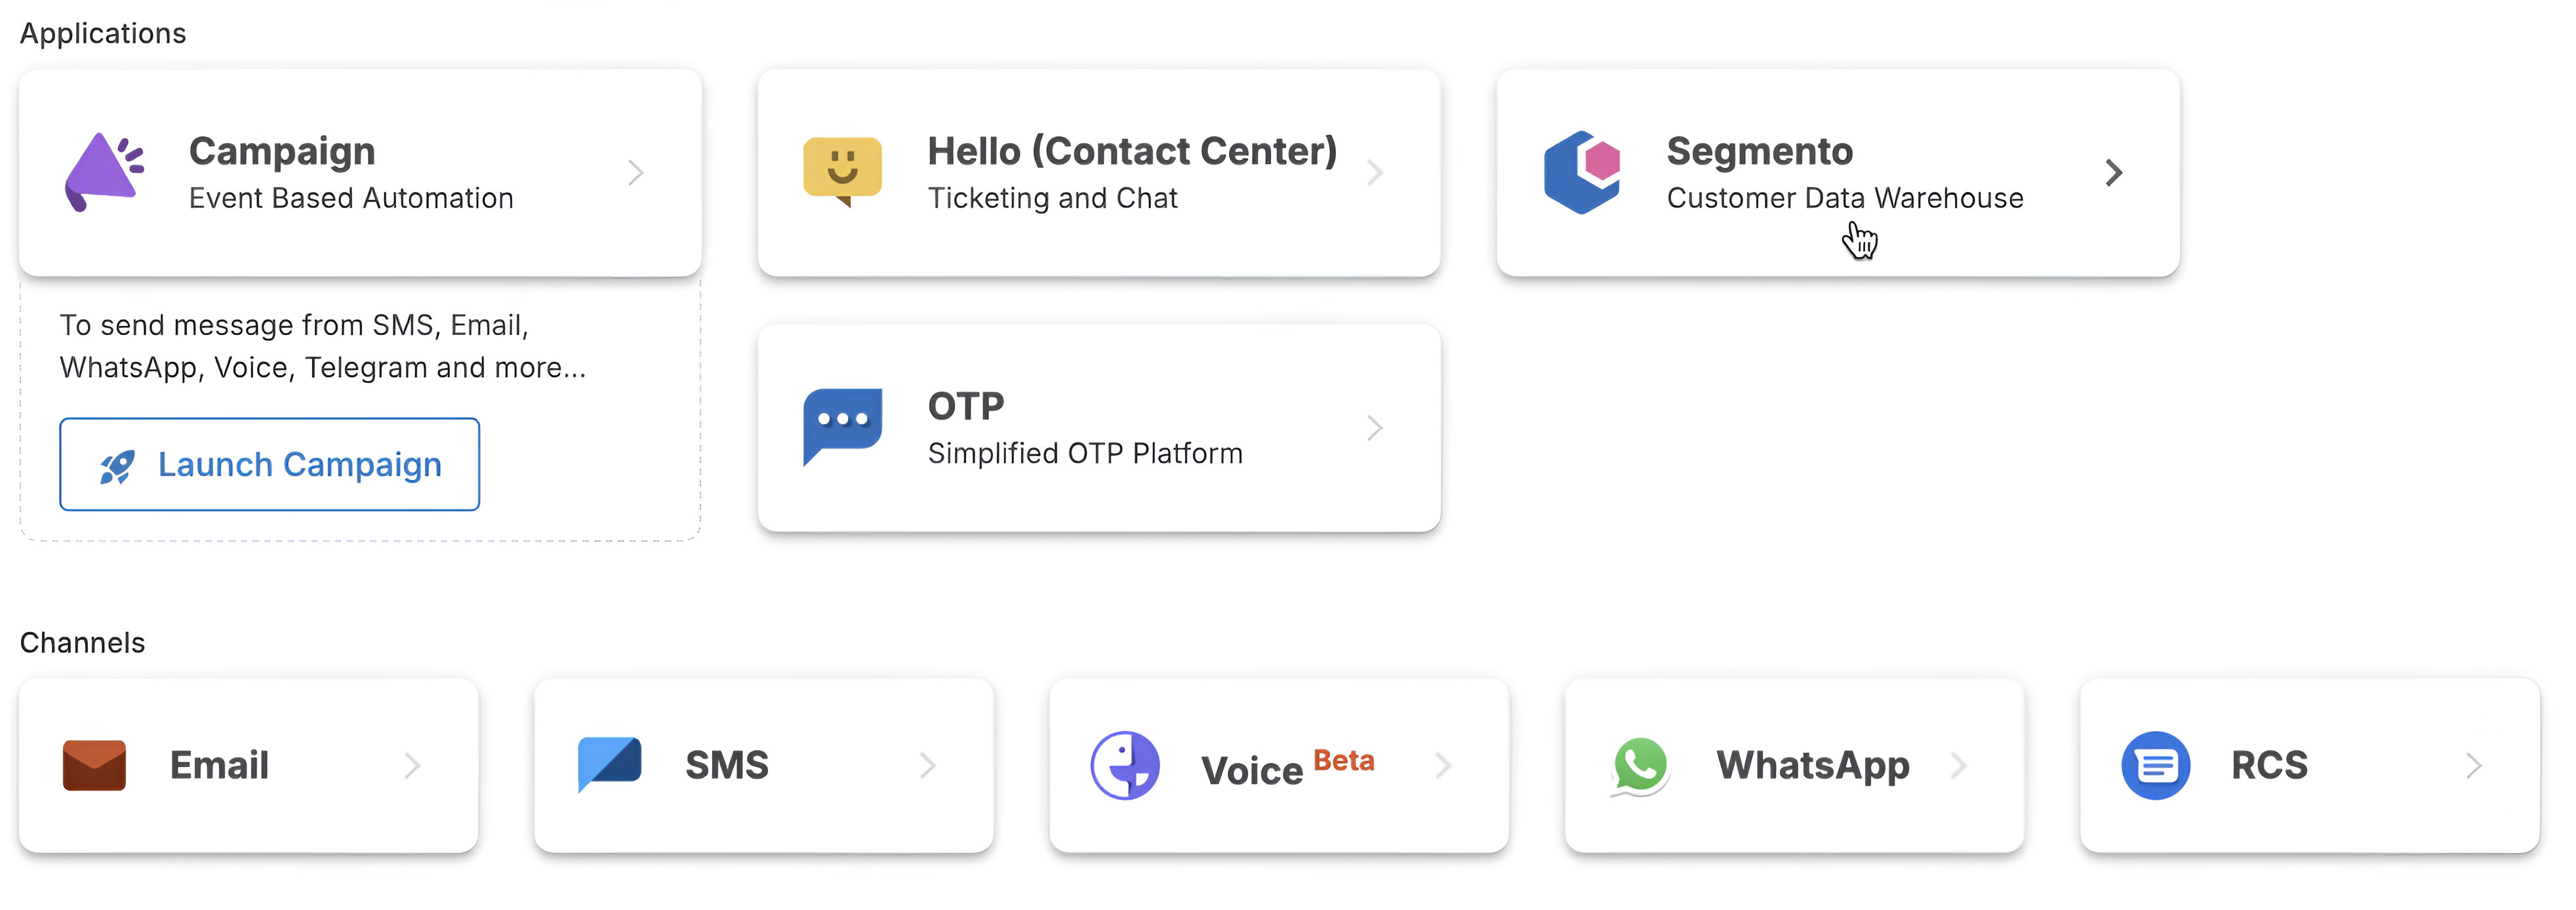
Select Segmento from the menu.
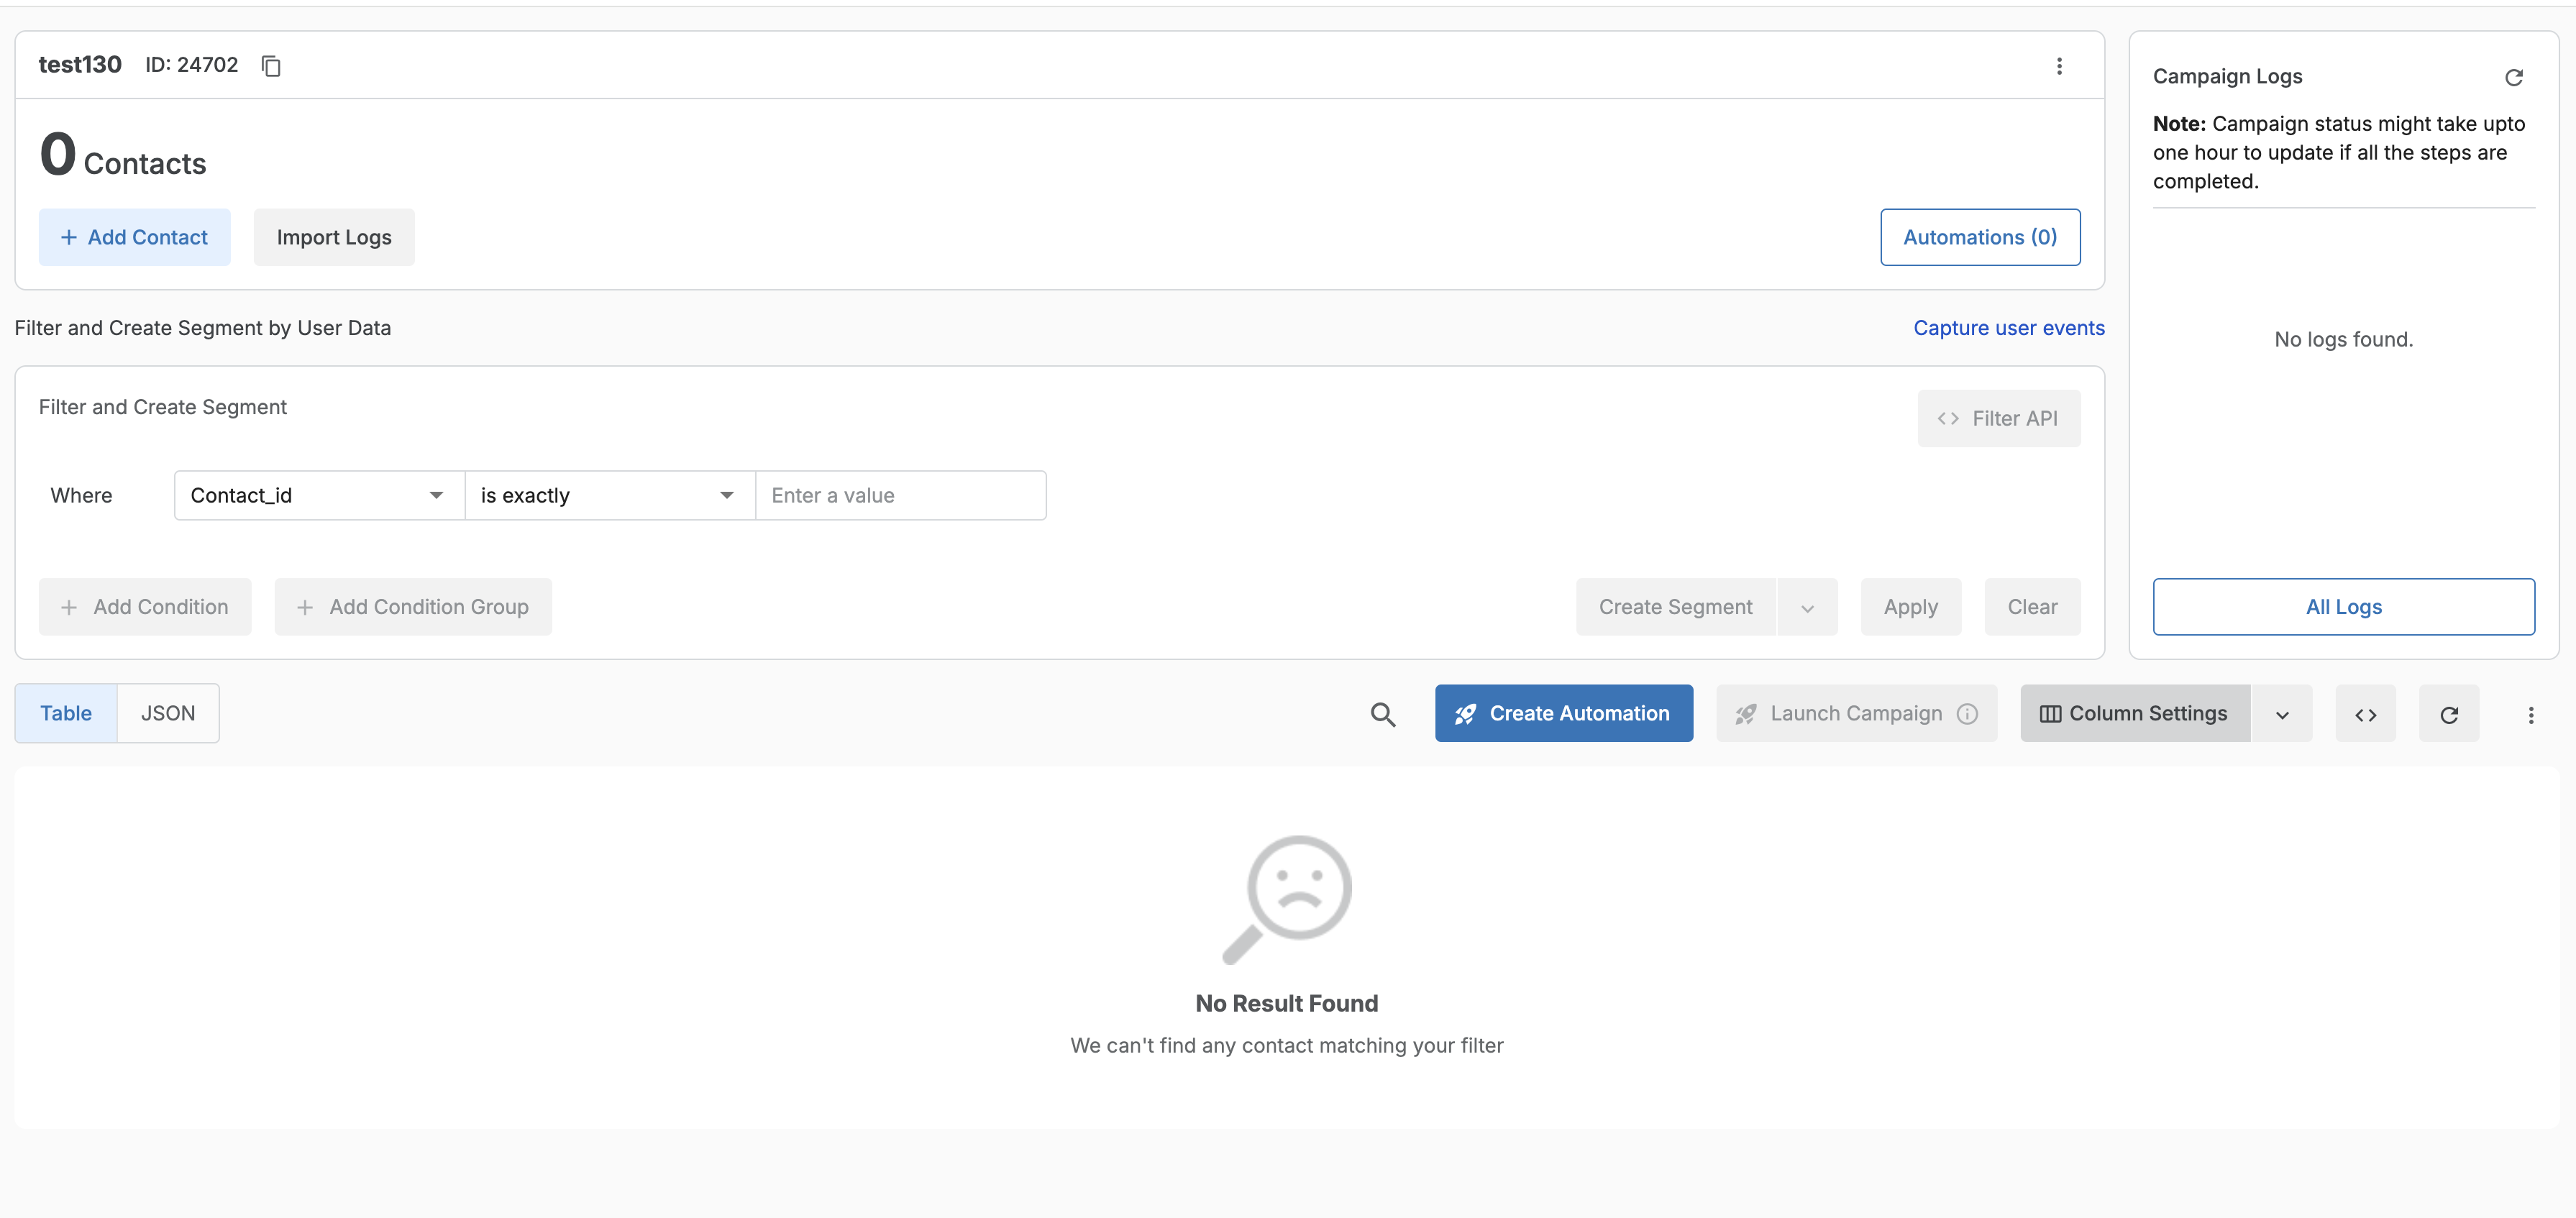
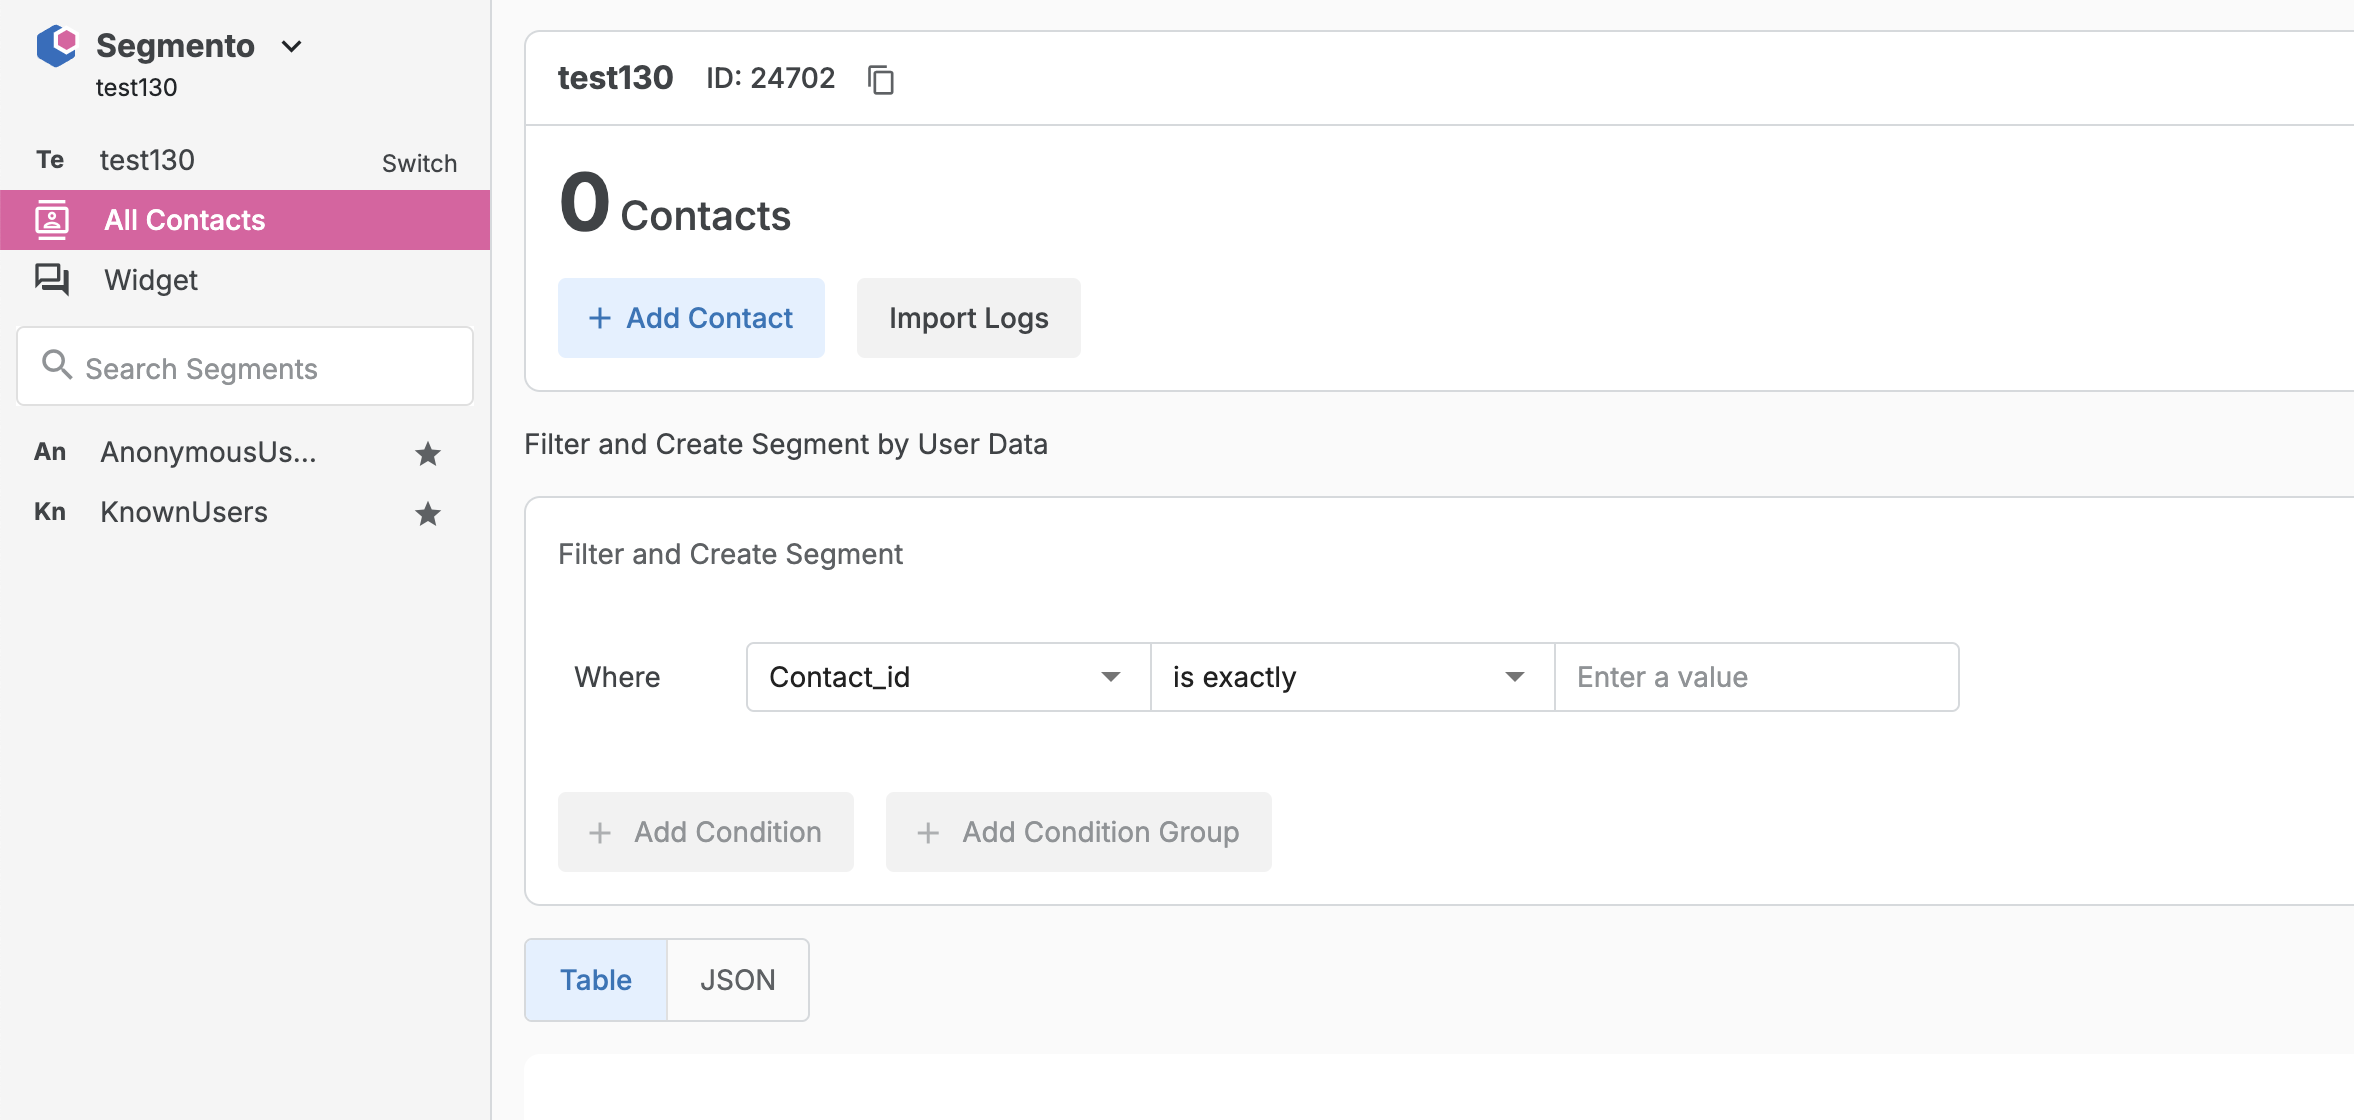
Once you enter Segmento, you’ll land on the Segment dashboard.
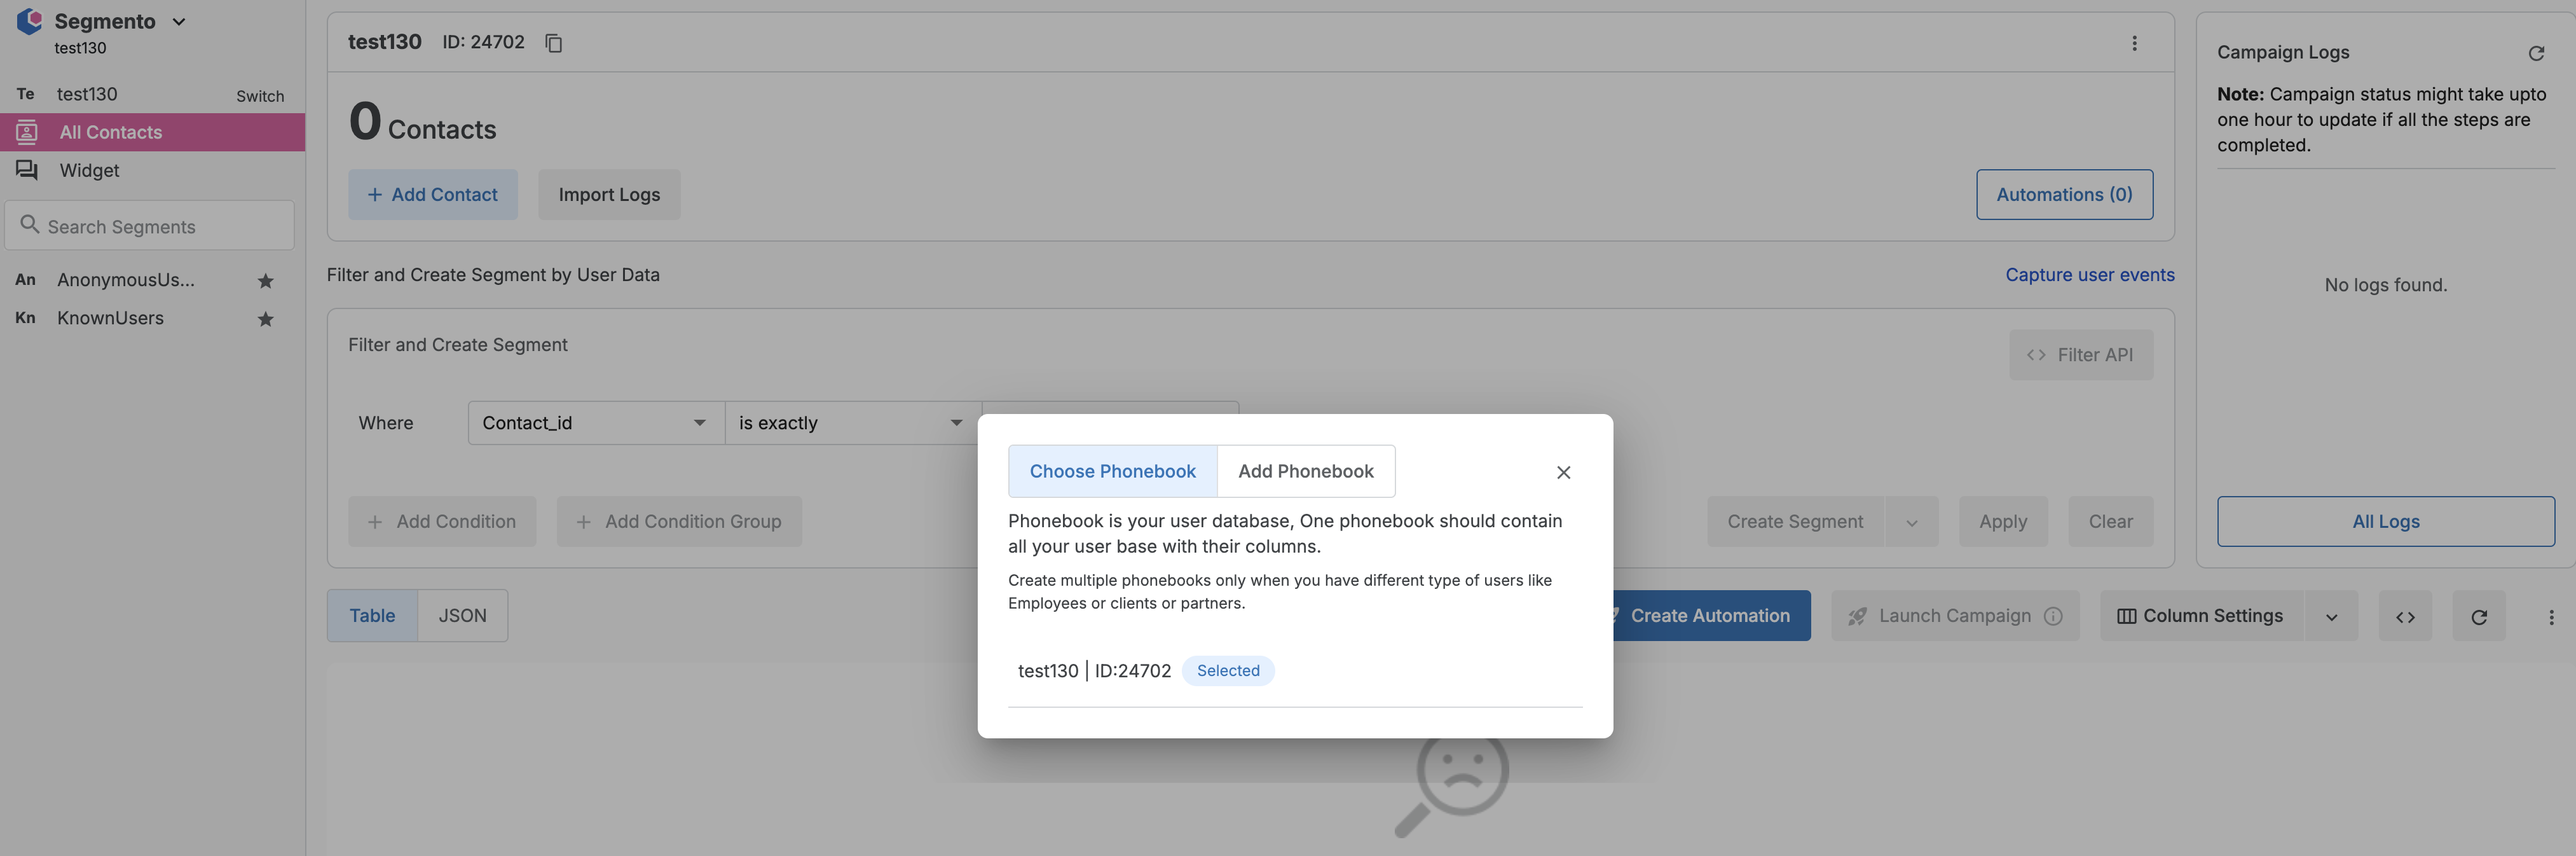
At the top-left, you’ll find your default phonebook. Click on it to either:
Use the default phonebook, or
Create a new phonebook as per your requirement.
Step 2: Use the Default Phonebook (Recommended)
We suggest using the Default phonebook to manage all your contacts and events efficiently. It reduces the chances of duplicate contacts and simplifies segmentation.
Step 3: Customize Columns
Click on Column Settings to add or modify fields:
Select from existing fields.
Or click “Add Column” to create custom fields.
Enter your field name and select the appropriate type. Then click Add.

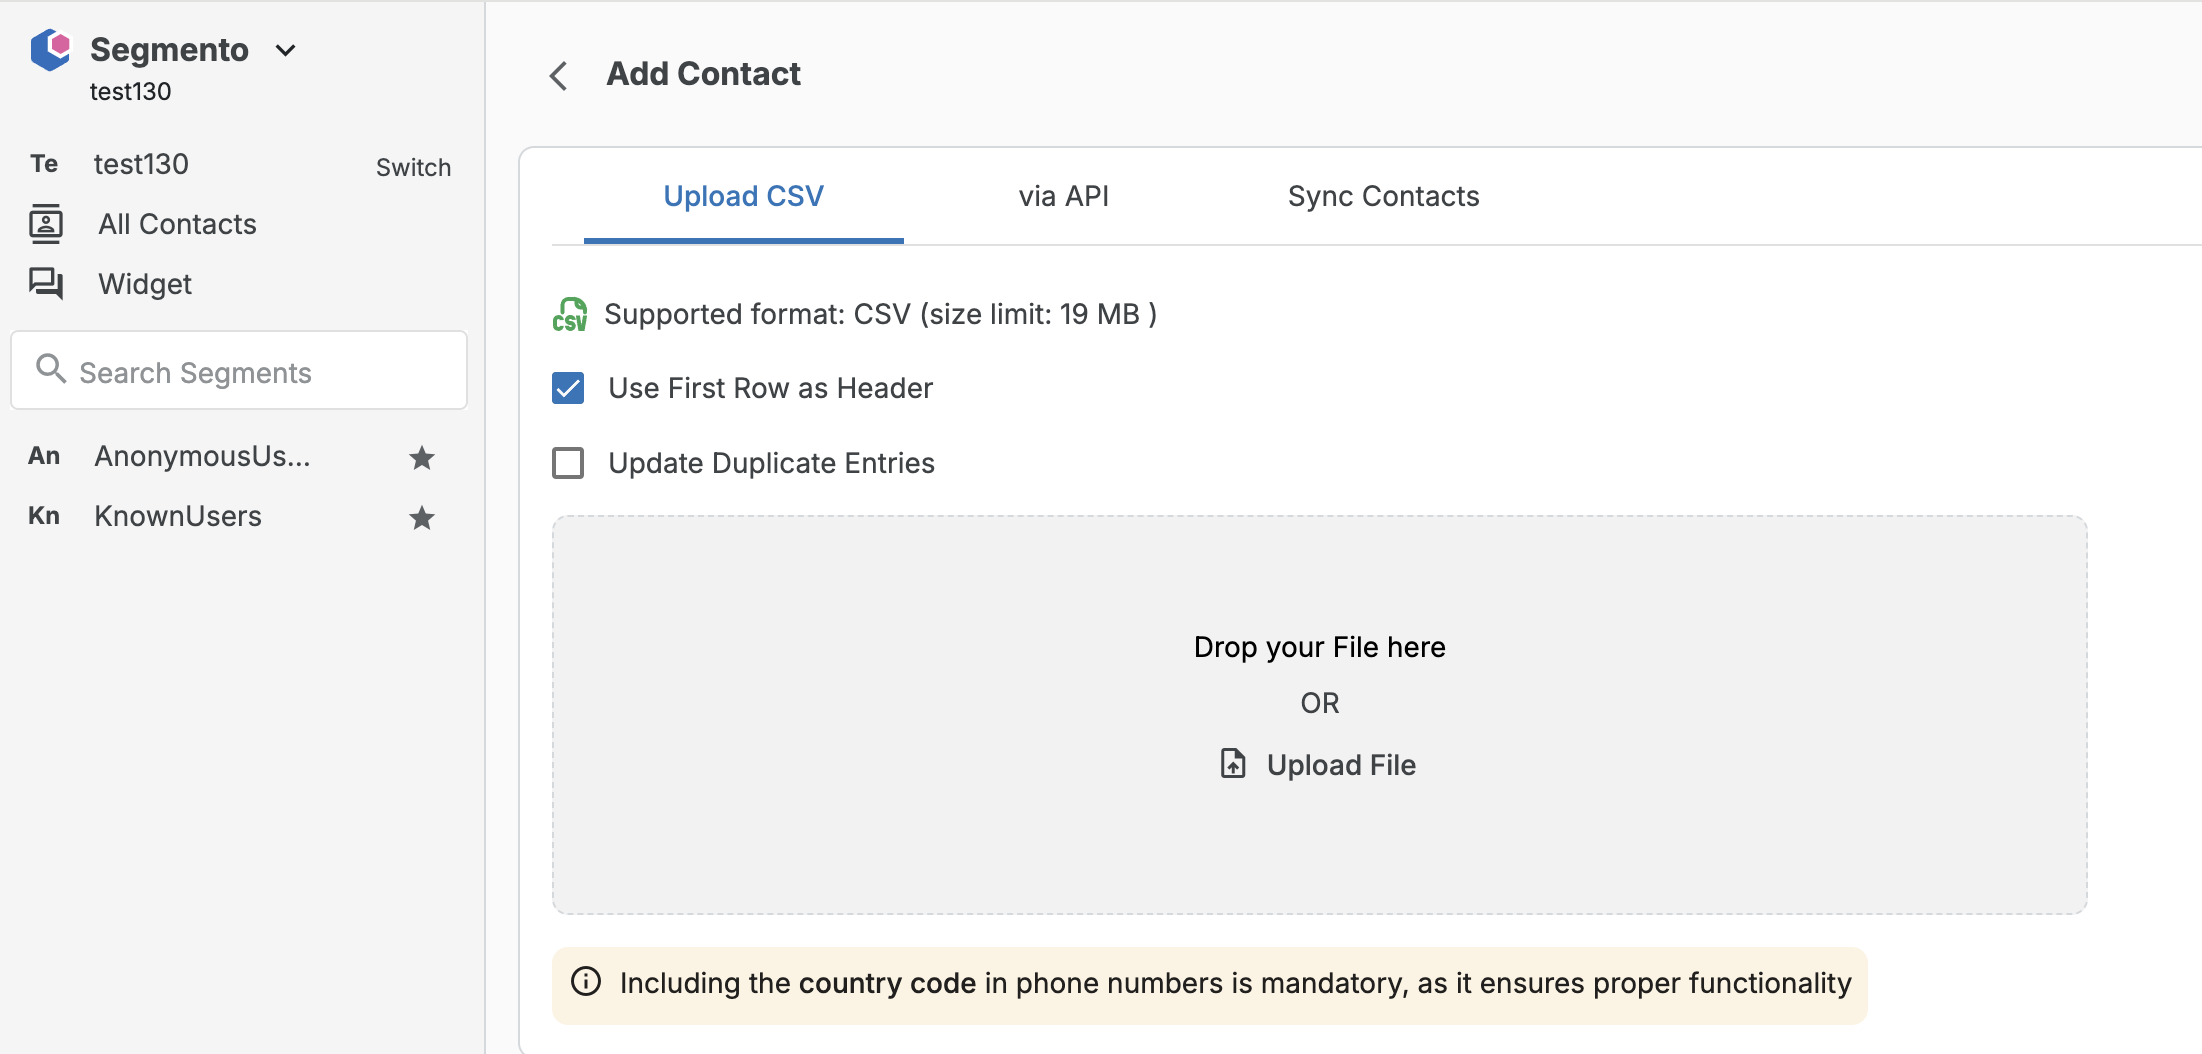
Step 4: Add Contacts
Click on Add Contacts to start uploading your contacts into the phonebook.
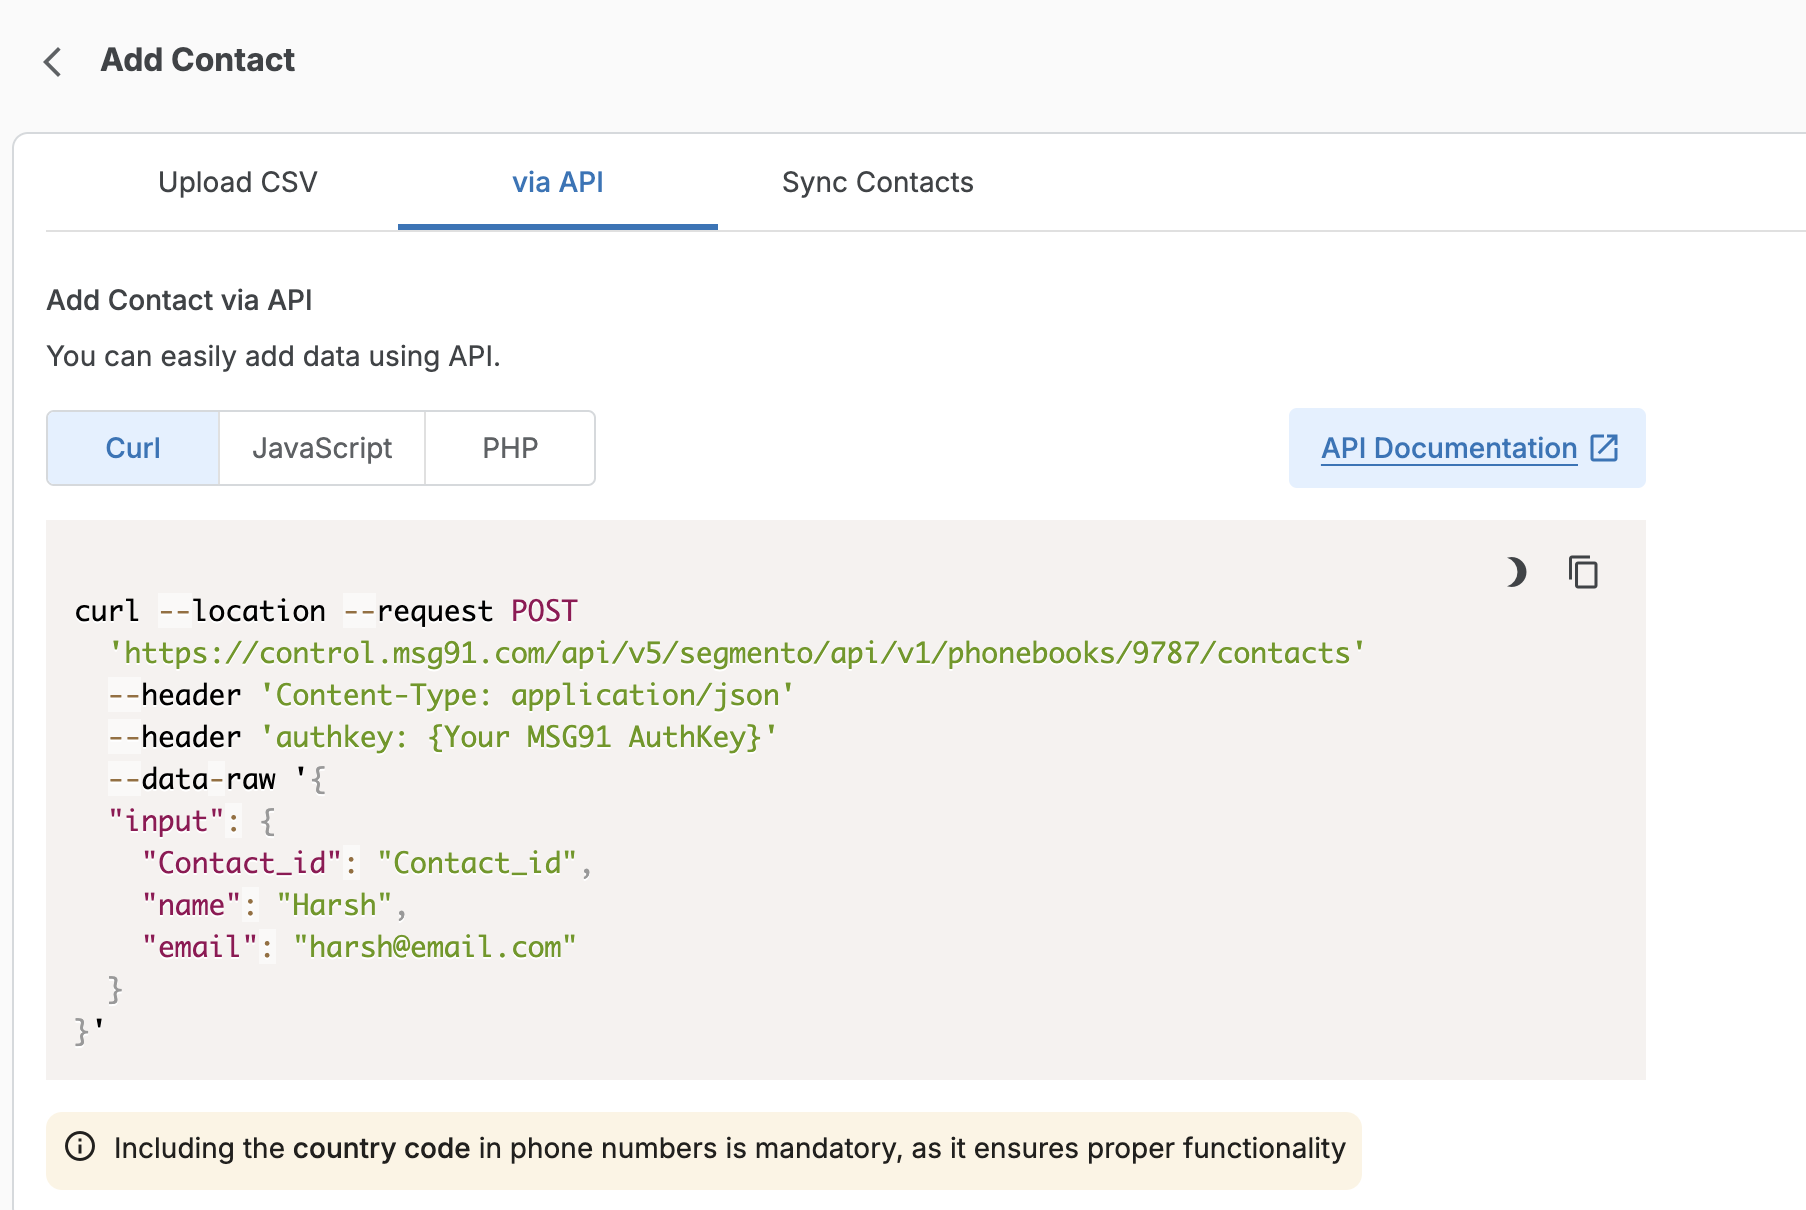
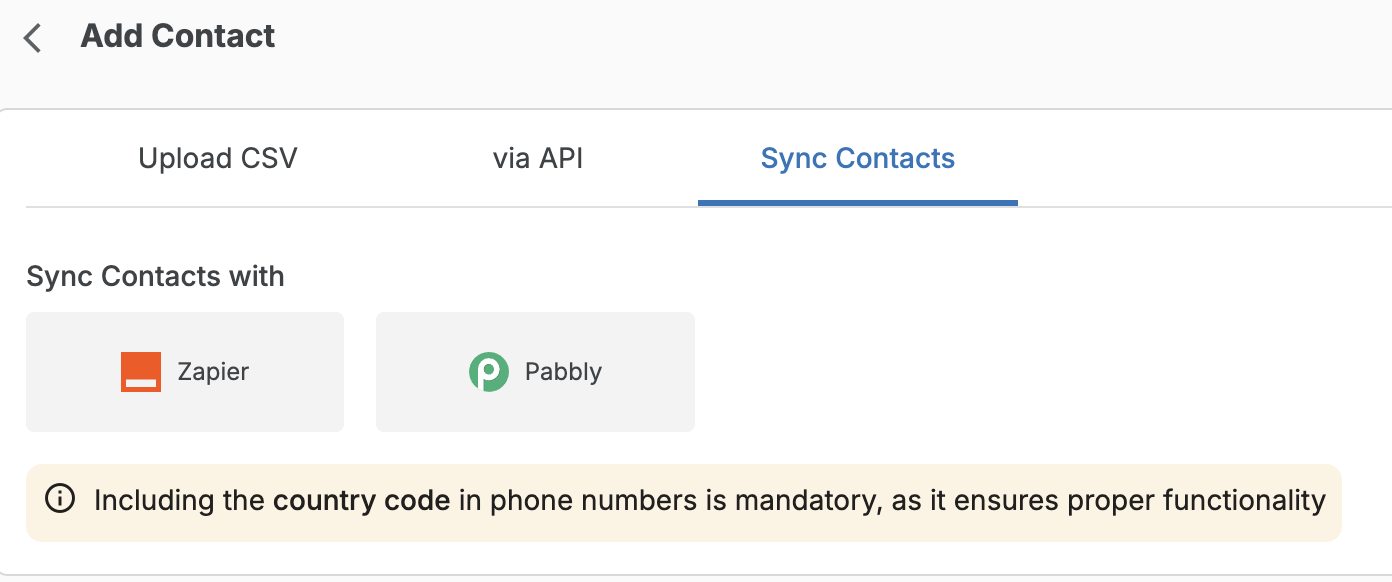
You can add contacts in any of the following ways:
➕ Upload CSV
🔄 API Integration
🔌 Third-Party Sync (e.g., Zapier, Pabbly)
After uploading, map the columns to the correct attributes using the dropdown provided.

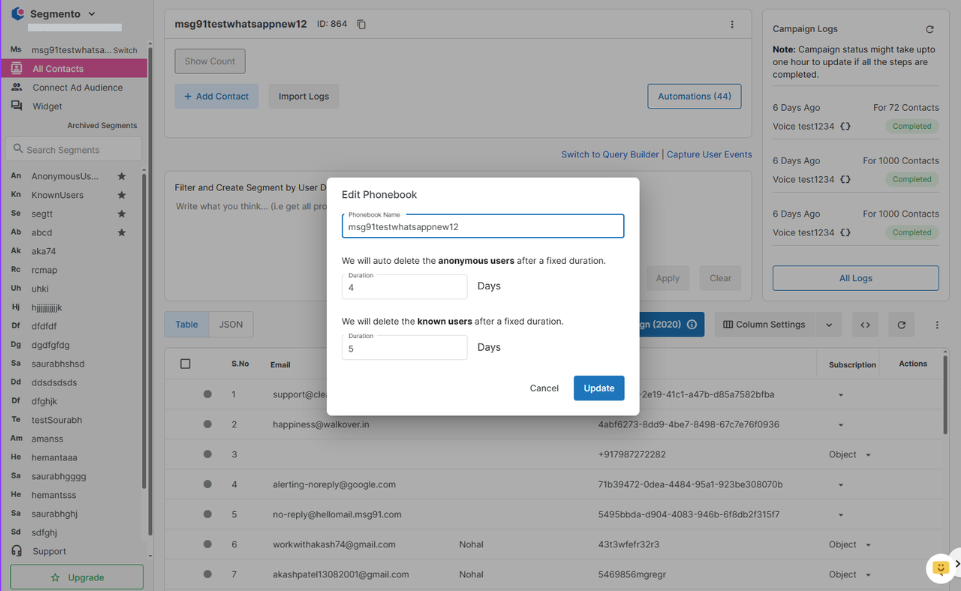
🆕 Step 5: [Optional] Set TTL (Time-to-Live) for Known Contacts
Now you can choose to auto-delete known contacts from a phonebook after a set number of days.
🔧 How to Enable TTL:
While creating or editing a phonebook.
Set a numeric value (in days) for how long the known contacts should remain.
For example: "known_expiry": 5
This will automatically remove known contacts after 5 days.
⚠️ This feature is disabled by default. You must manually configure it in the segmento section if you want to enable it.
✅ You're All Set!
By following these steps, you can quickly configure Segmento, upload your entire contact database, and now even manage automatic contact expiry to keep your data fresh and relevant.